{{ 'fb_in_app_browser_popup.desc' | translate }} {{ 'fb_in_app_browser_popup.copy_link' | translate }}

{{ 'in_app_browser_popup.desc' | translate }}

DIY主題燈板

DIY主題燈板

NT$1,300
NT$1,000
{{ title.name_translations | translateModel }} : {{variationName[$index] | translateModel}}
Quantity
Add to Wishlist
The maximum quantity per submit is 99999
This quantity is invalid, please enter a valid quantity.
Sold Out

Not enough stock.
Your item was not added to your cart.

Not enough stock.
Please adjust your quantity.

{{'products.quick_cart.out_of_number_hint'| translate}}

{{'product.preorder_limit.hint'| translate}}

Limit {{ product.max_order_quantity }} per order.

Only {{ quantityOfStock }} item(s) left.

Please message the shop owner for order details.
Add to Wishlist
Description
Shipping & Payment
Customer Reviews
Description
! 重要提醒 · 請先確認
安裝前後請再確認
  • 黏貼圖案前,壓克力正反兩面的保護膜都已撕除。
  • 黏貼魔鬼氈前,燈板背面的保護膜也已完整撕除。
  • 燈板位於機殼安全位置,不妨礙散熱孔、風扇與其他零件。
  • 接線前電腦確實斷電,使用的是 5V 3Pin ARGB,而非 12V 4Pin RGB。
DCT · DIY LIGHT PANEL GUIDE

DIY 燈板
完整製作教學

從列印圖案、黏貼壓克力、固定燈板,到連接 ARGB 燈效。跟著 9 個步驟,完成專屬客製化燈板。

材料準備9 個操作步驟圖文教學

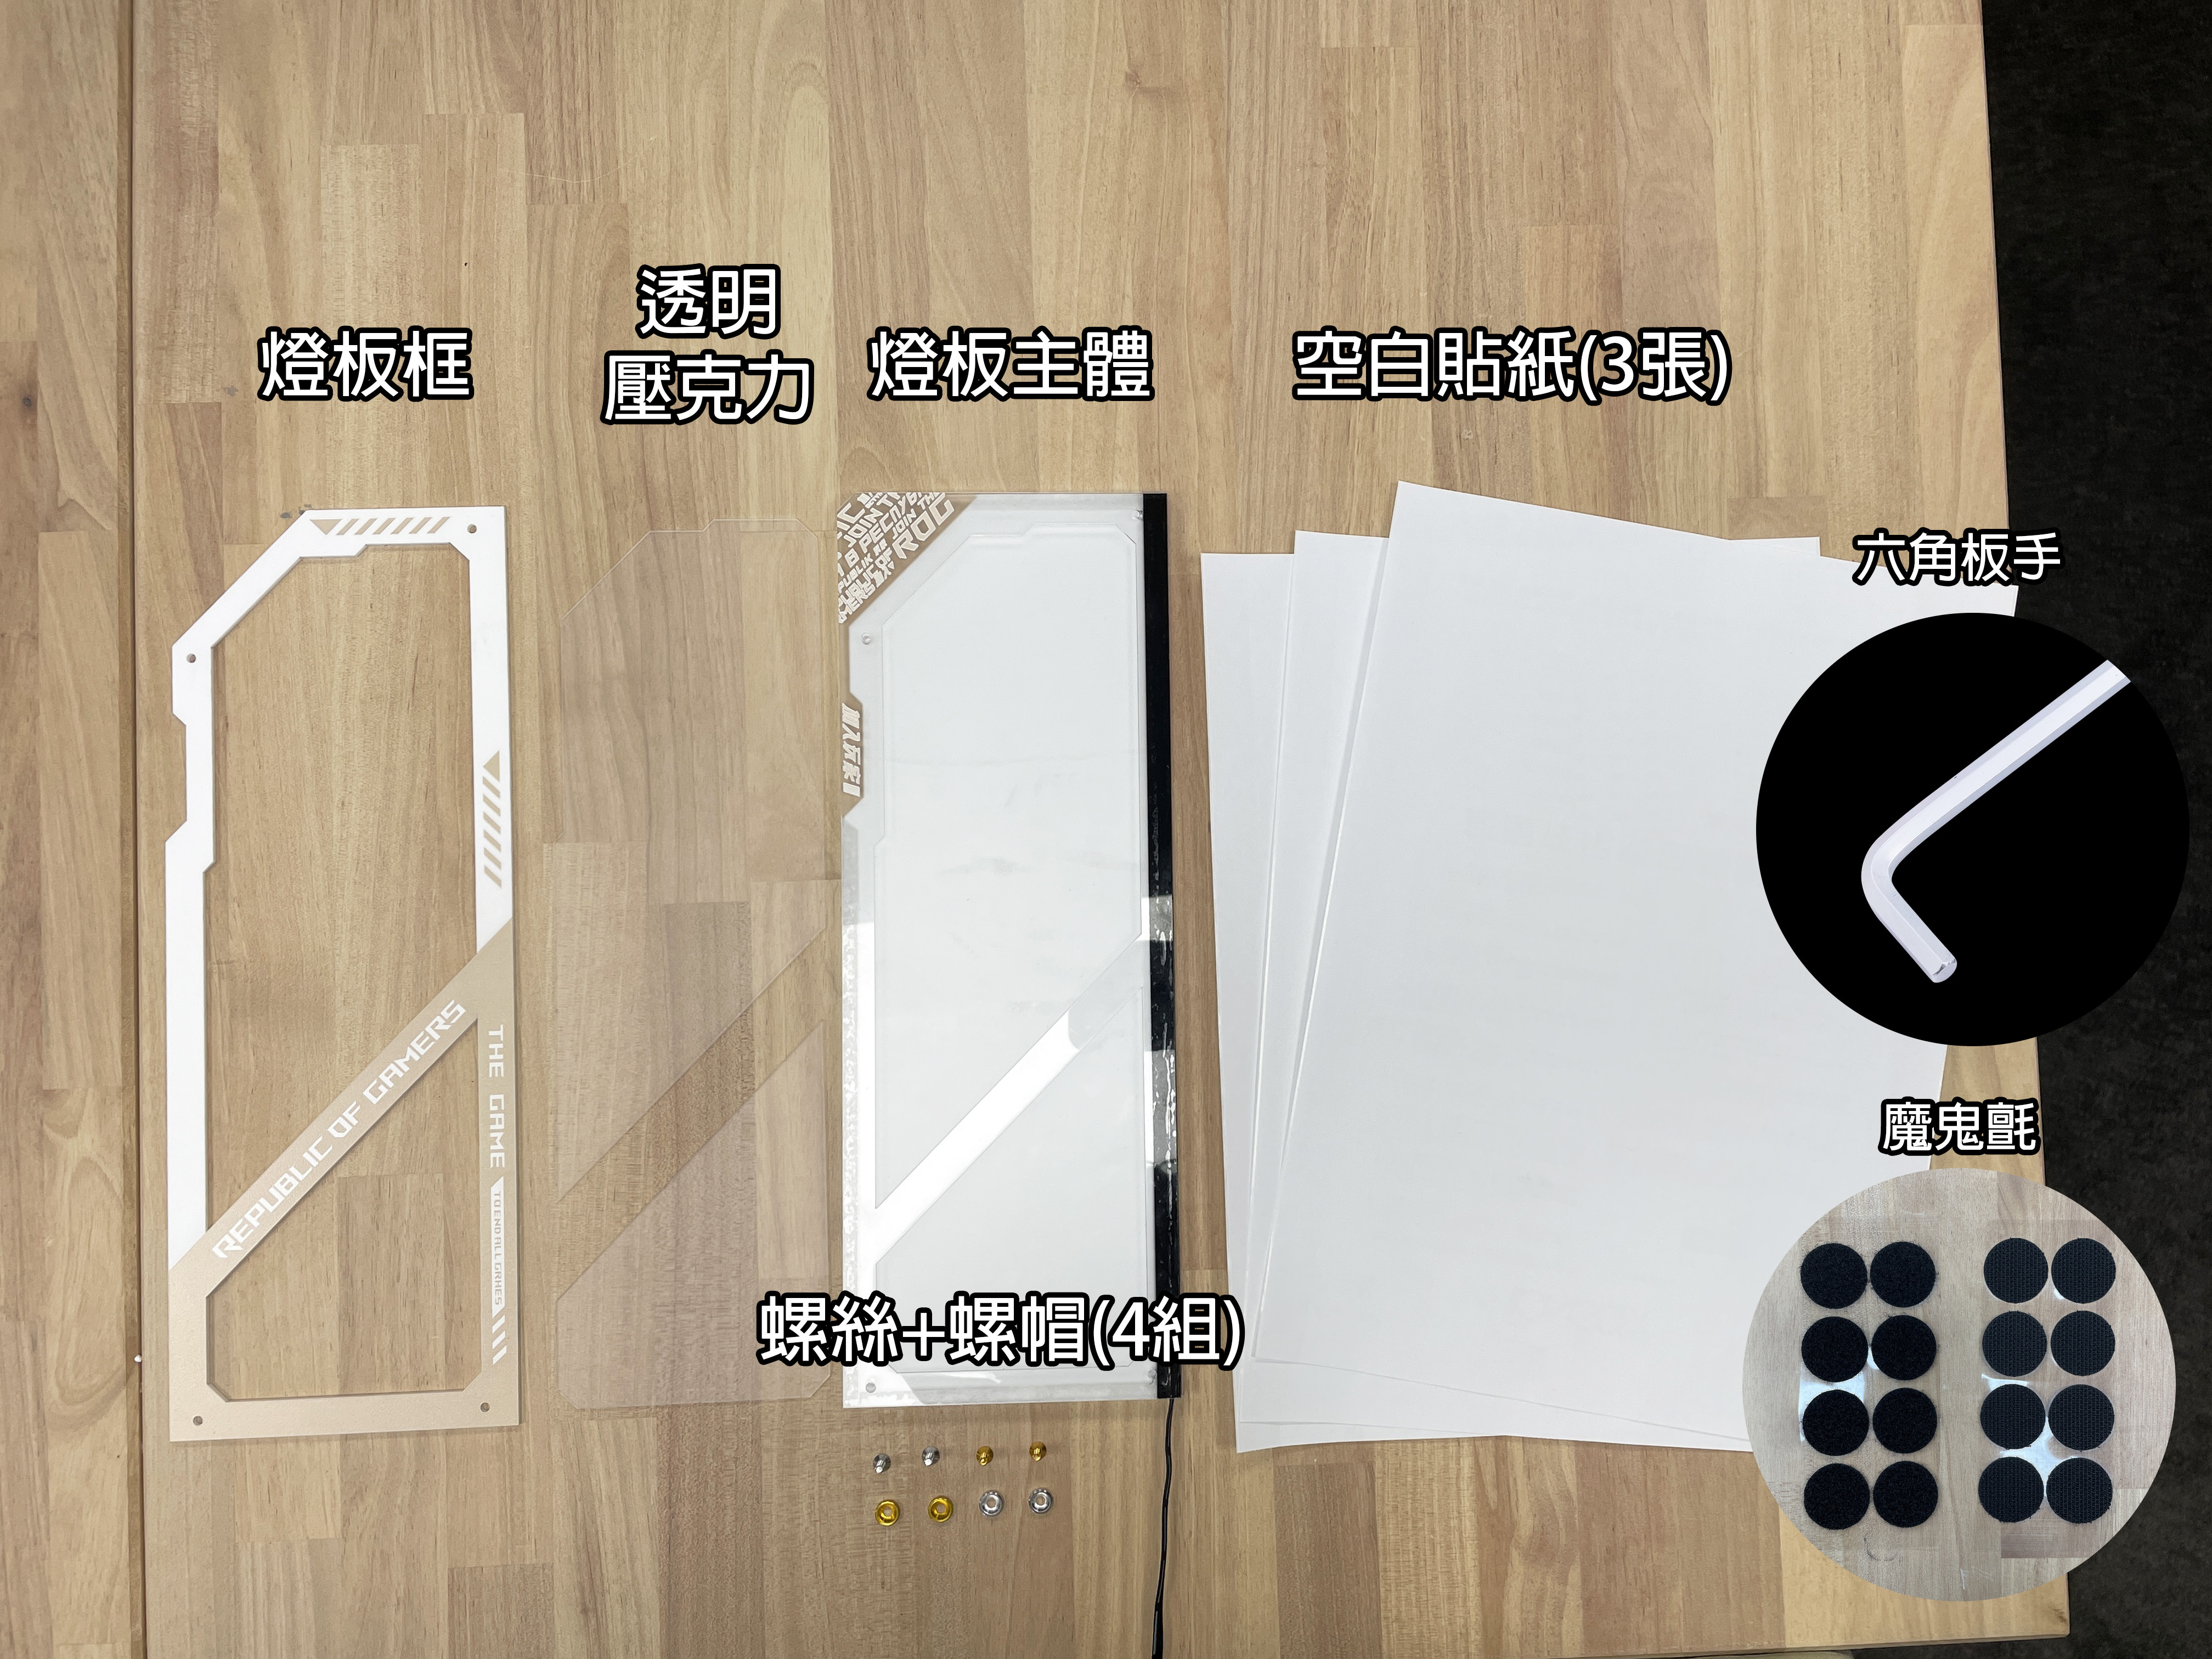
材料包內容

DIY 主題燈板材料包,展示外框、透明壓克力、燈板主體、空白貼紙與六角扳手|DIY light panel kit with frame, clear acrylic, light panel, blank sticker sheets and hex key
燈板框 × 1
透明壓克力 × 1
燈板主體 × 1
空白貼紙 × 3 張
螺絲+螺帽 × 4 組
六角板手 × 1
魔鬼氈 × 1 組

依序完成 9 個步驟

01
STEP 01 / 09

列印圖案・確認尺寸

先選擇喜歡的圖片,建議先用一般紙張試印,確認尺寸、比例及位置無誤後,再用材料包內的空白貼紙正式列印。可到超商與店員協調後用材料包中的貼紙列印。

注意:避免圖片變形或超出燈板範圍。
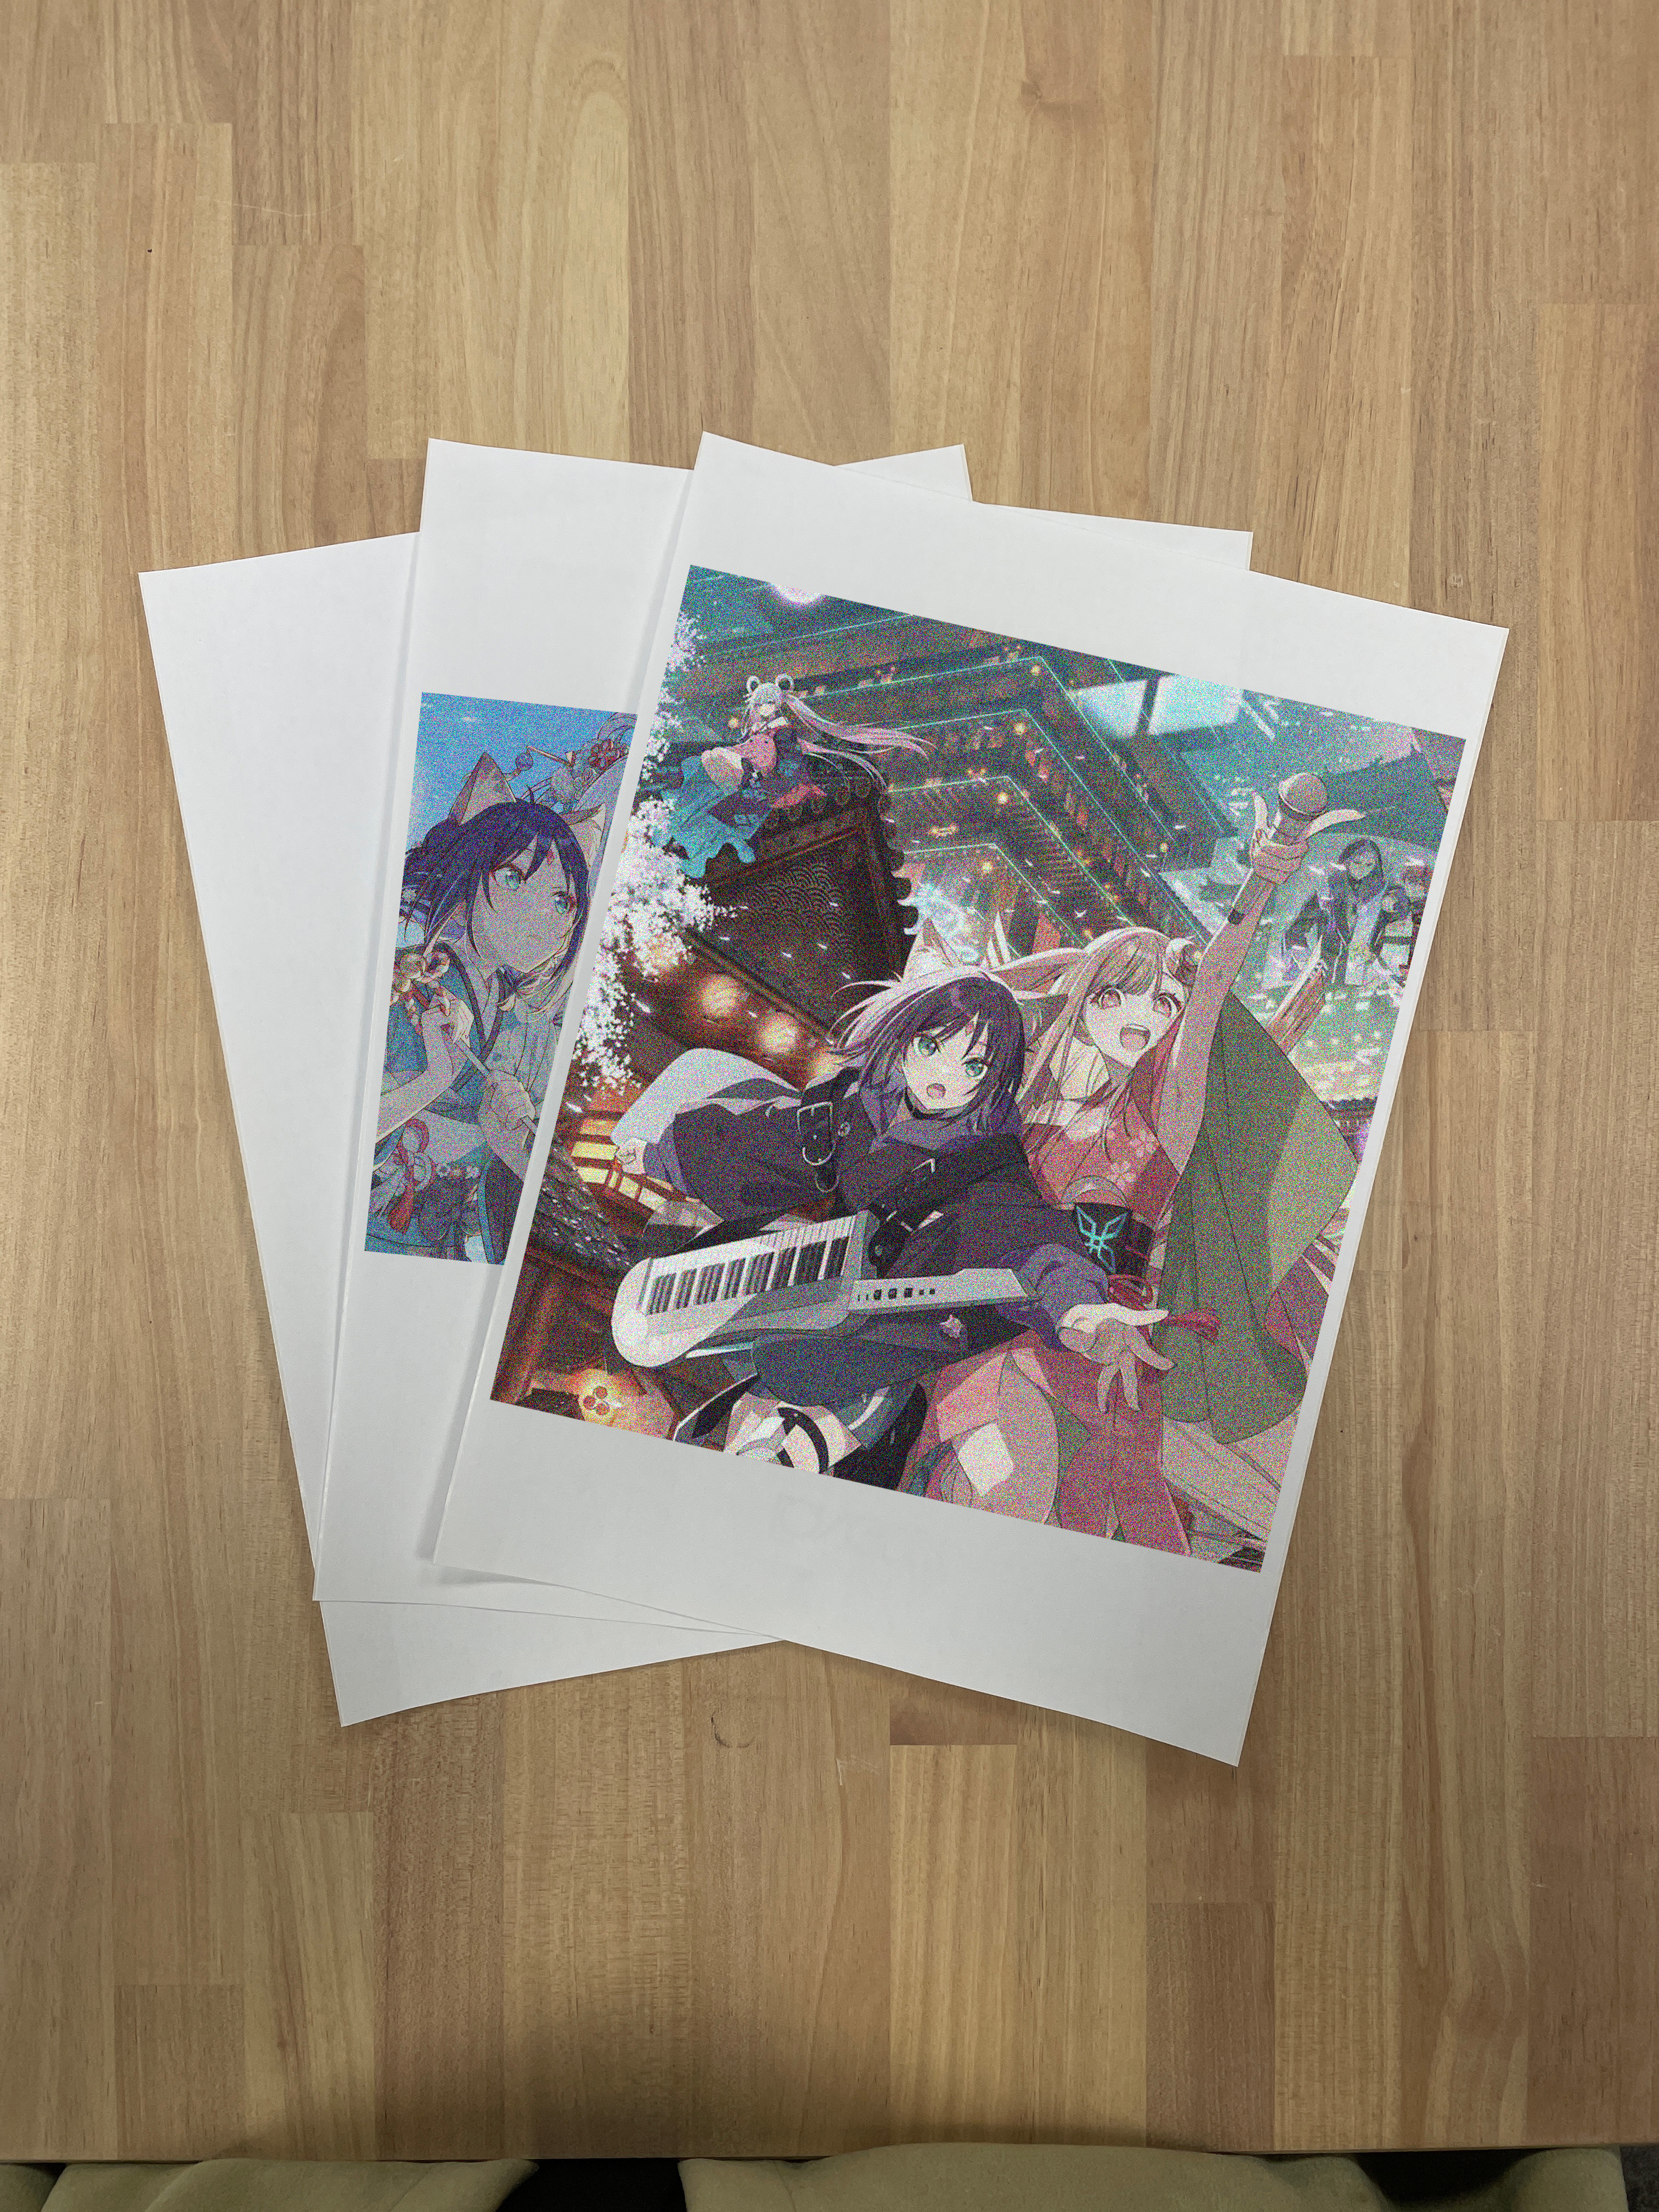
DIY 燈板用動漫圖案列印紙張平鋪於木桌|Printed anime artwork sheets on a wooden table for a DIY light panel
02
STEP 02 / 09

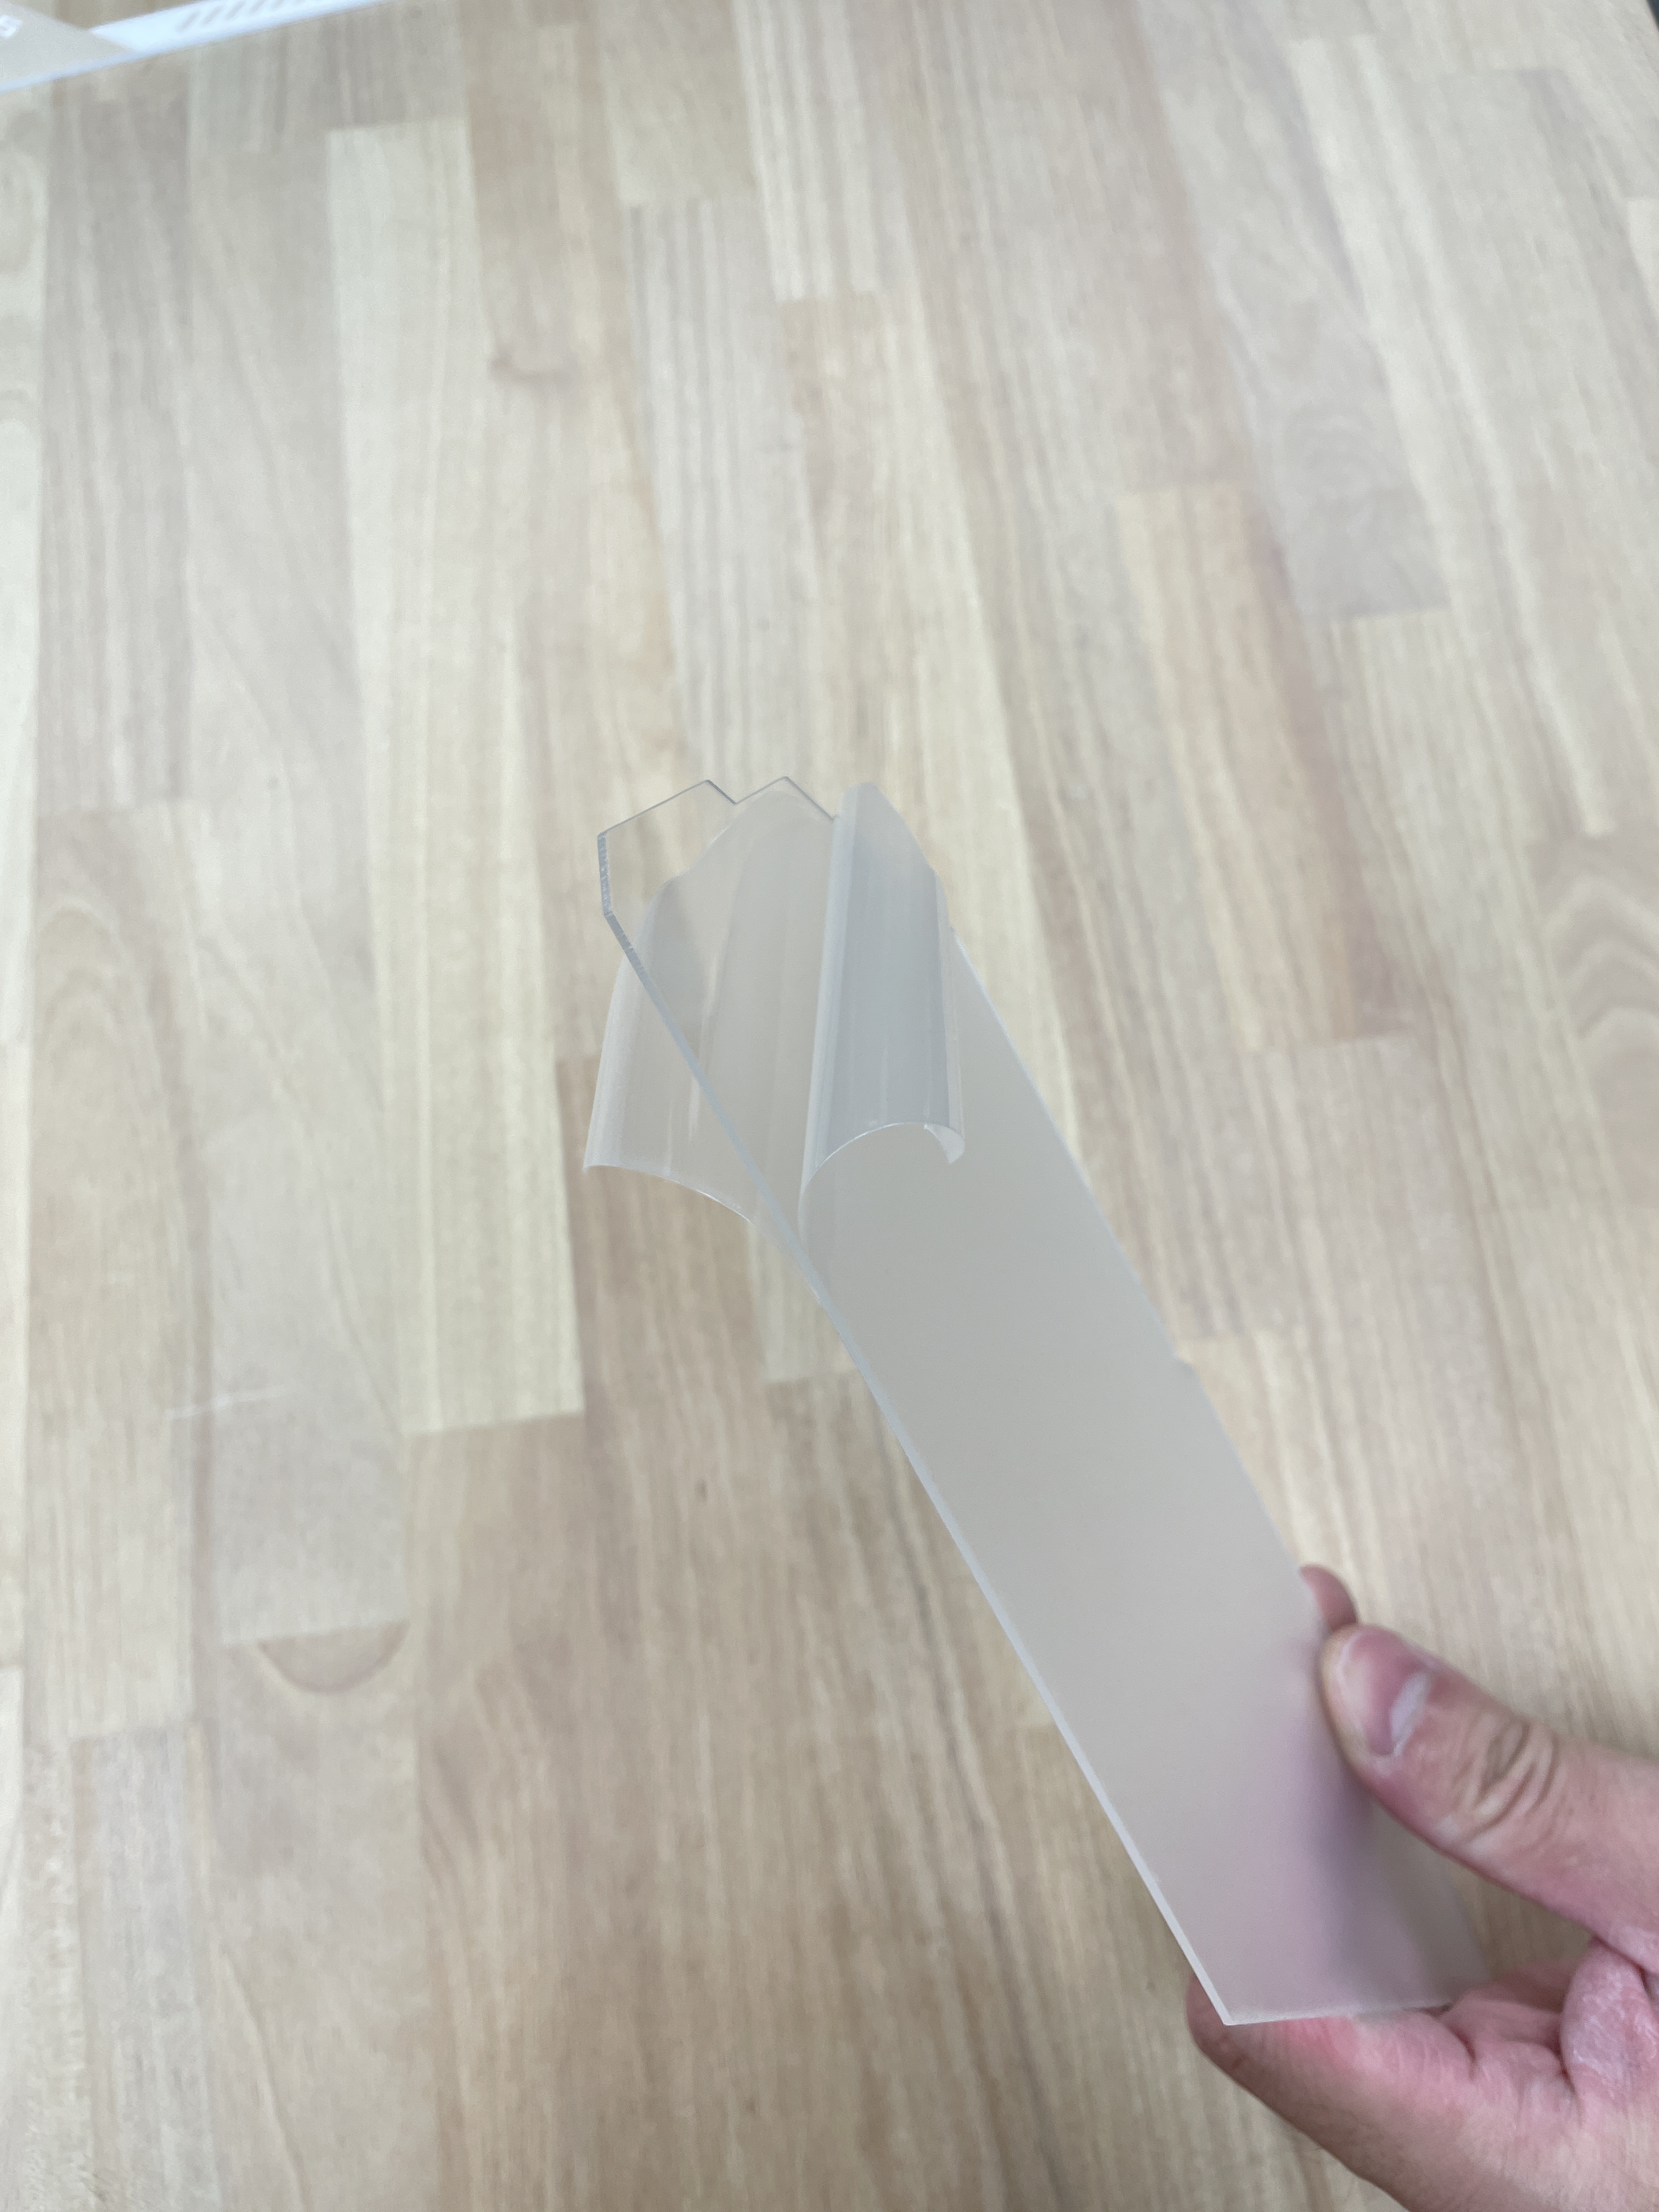
撕除壓克力雙面保護膜

黏貼前,將透明壓克力板正反兩面的保護膜全部撕除。

注意:正面與背面都要撕掉。
手持透明壓克力板並撕開保護膜的示範|Demonstration of peeling protective film from a clear acrylic panel
03
STEP 03 / 09

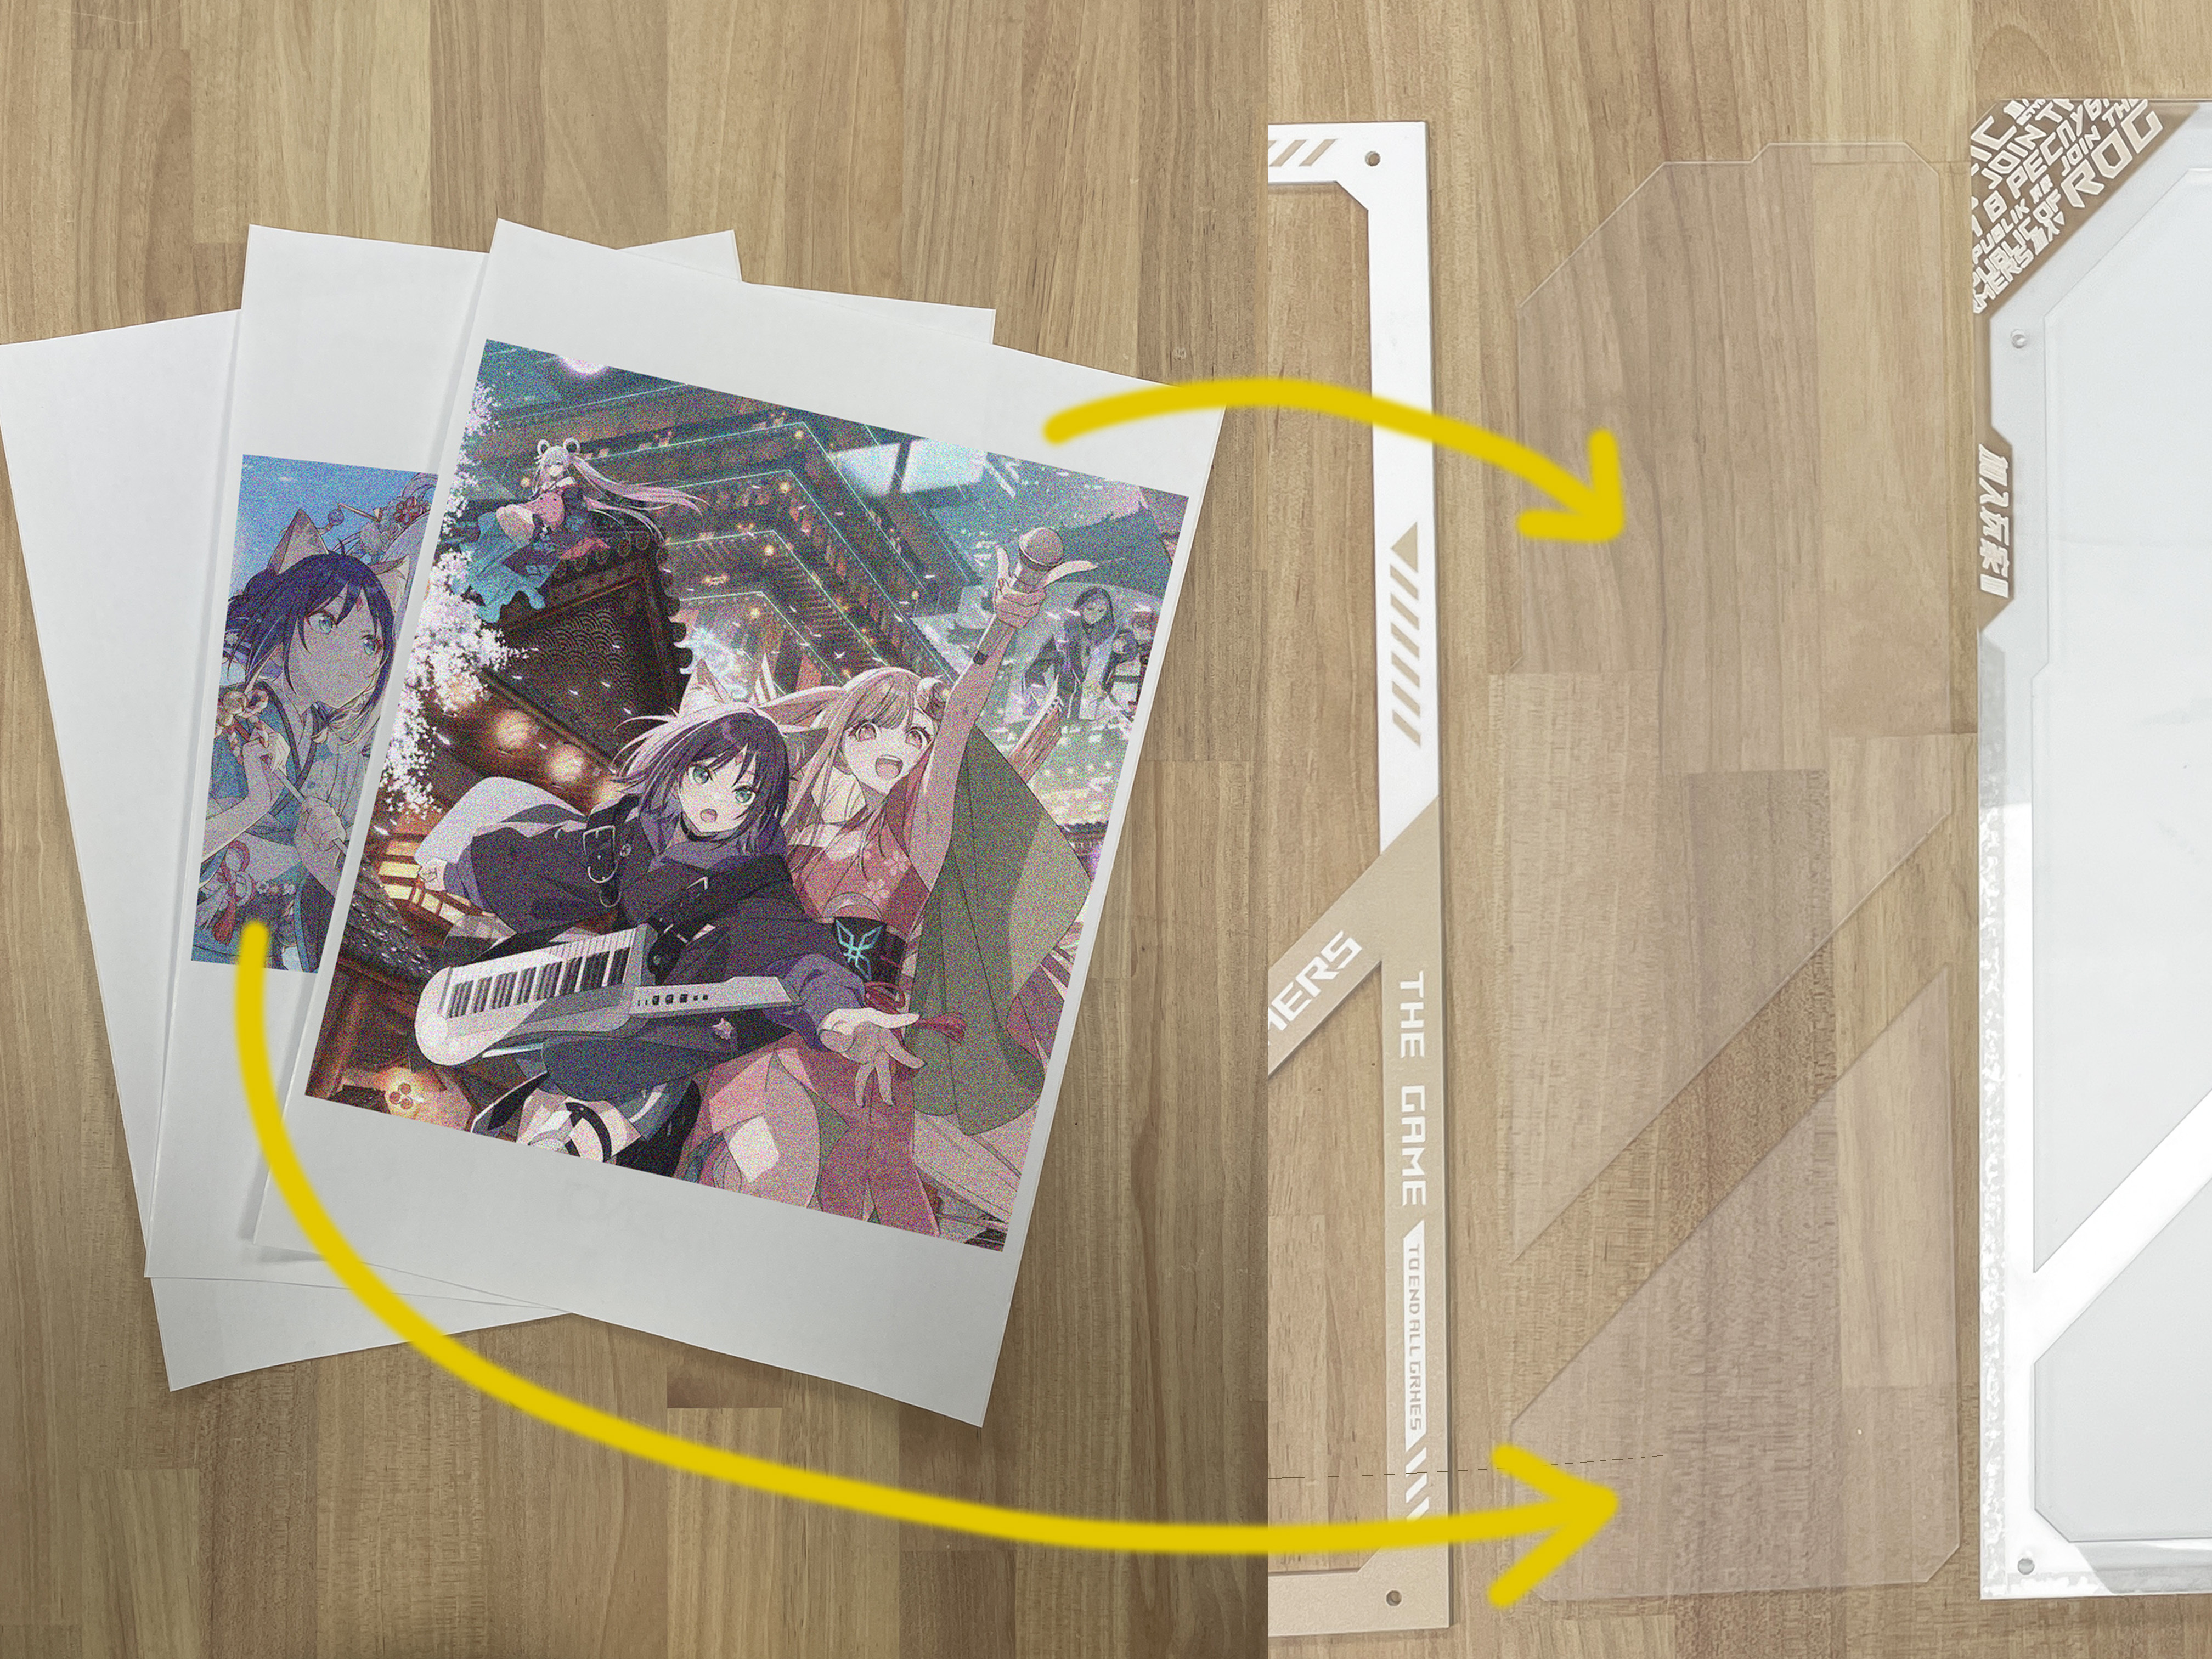
對齊圖片並黏貼

先確認圖案位置與正反方向,再將列印好的貼紙平整黏貼至透明壓克力板。

注意:慢慢貼合,盡量避免氣泡與皺摺。
DIY 燈板圖案紙張、壓克力與外框,以箭頭指示貼合位置|DIY light panel artwork, acrylic and frame with arrows indicating placement
04
STEP 04 / 09

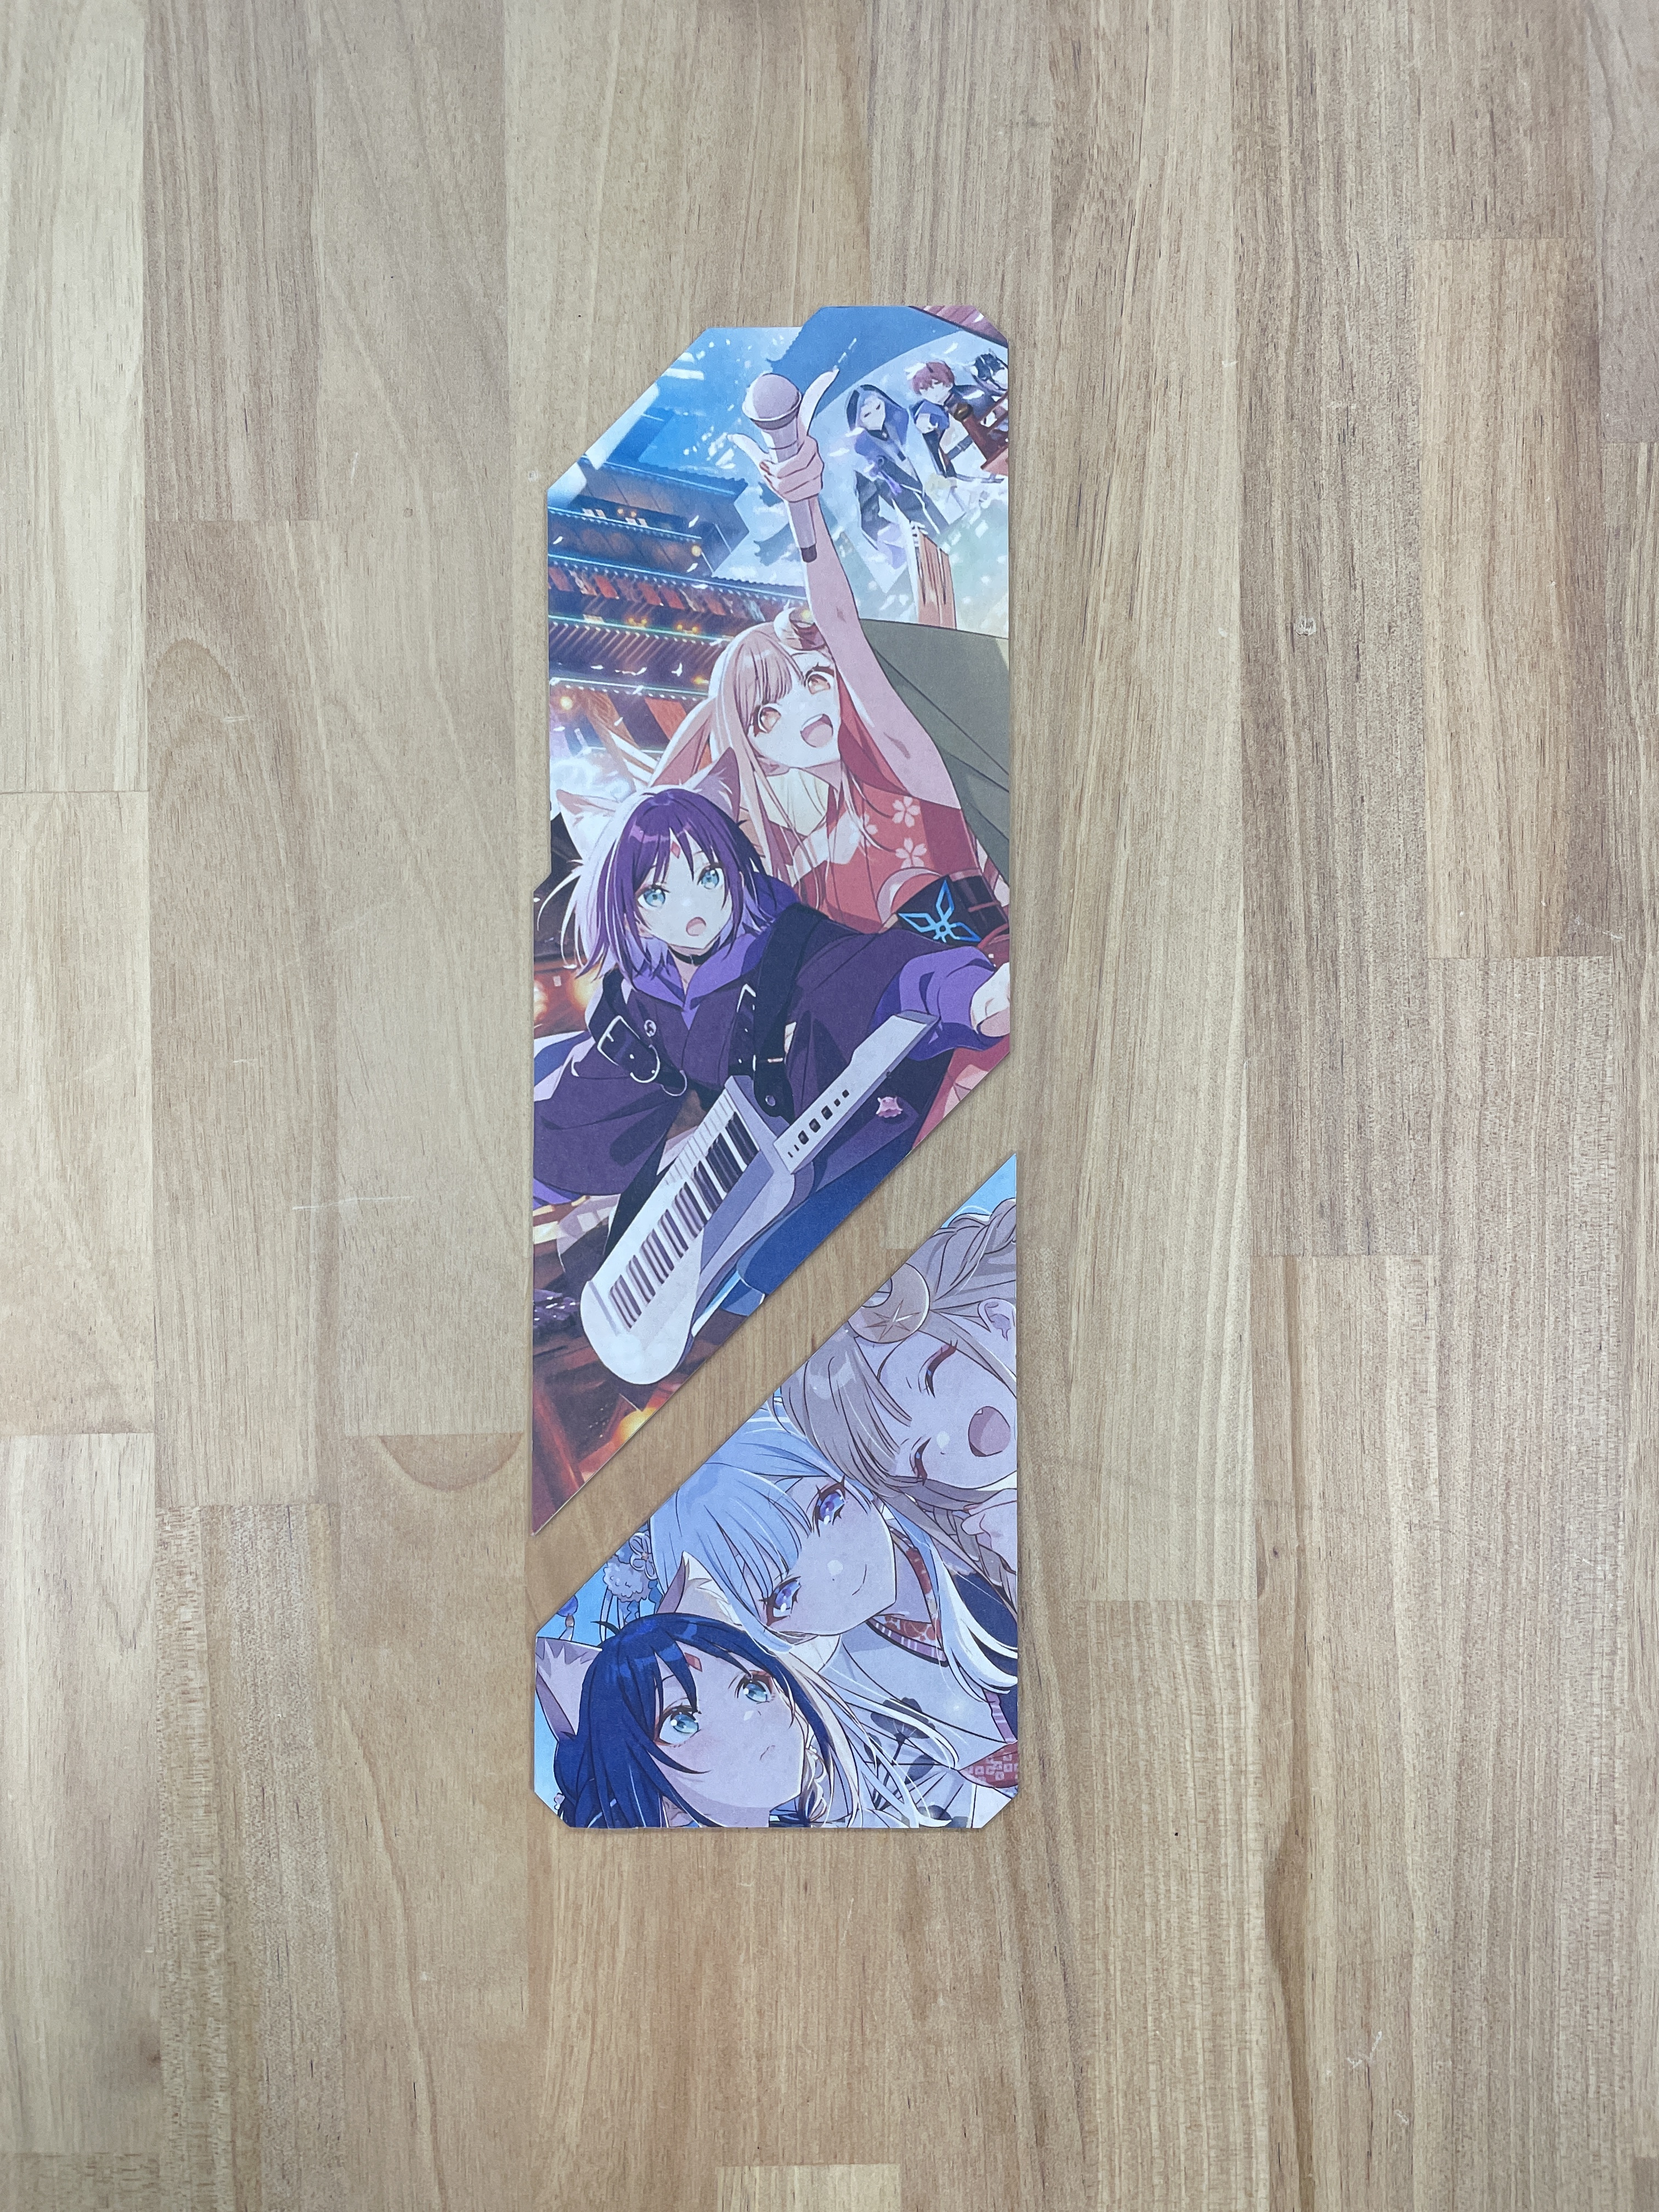
裁切多餘邊緣

整塊圖案黏貼完成後,沿著壓克力輪廓修剪多餘貼紙。

注意:小心使用裁切工具,勿刮傷壓克力。
已沿壓克力輪廓裁切完成的動漫圖案面板|Anime artwork panel trimmed to the acrylic outline
05
STEP 05 / 09

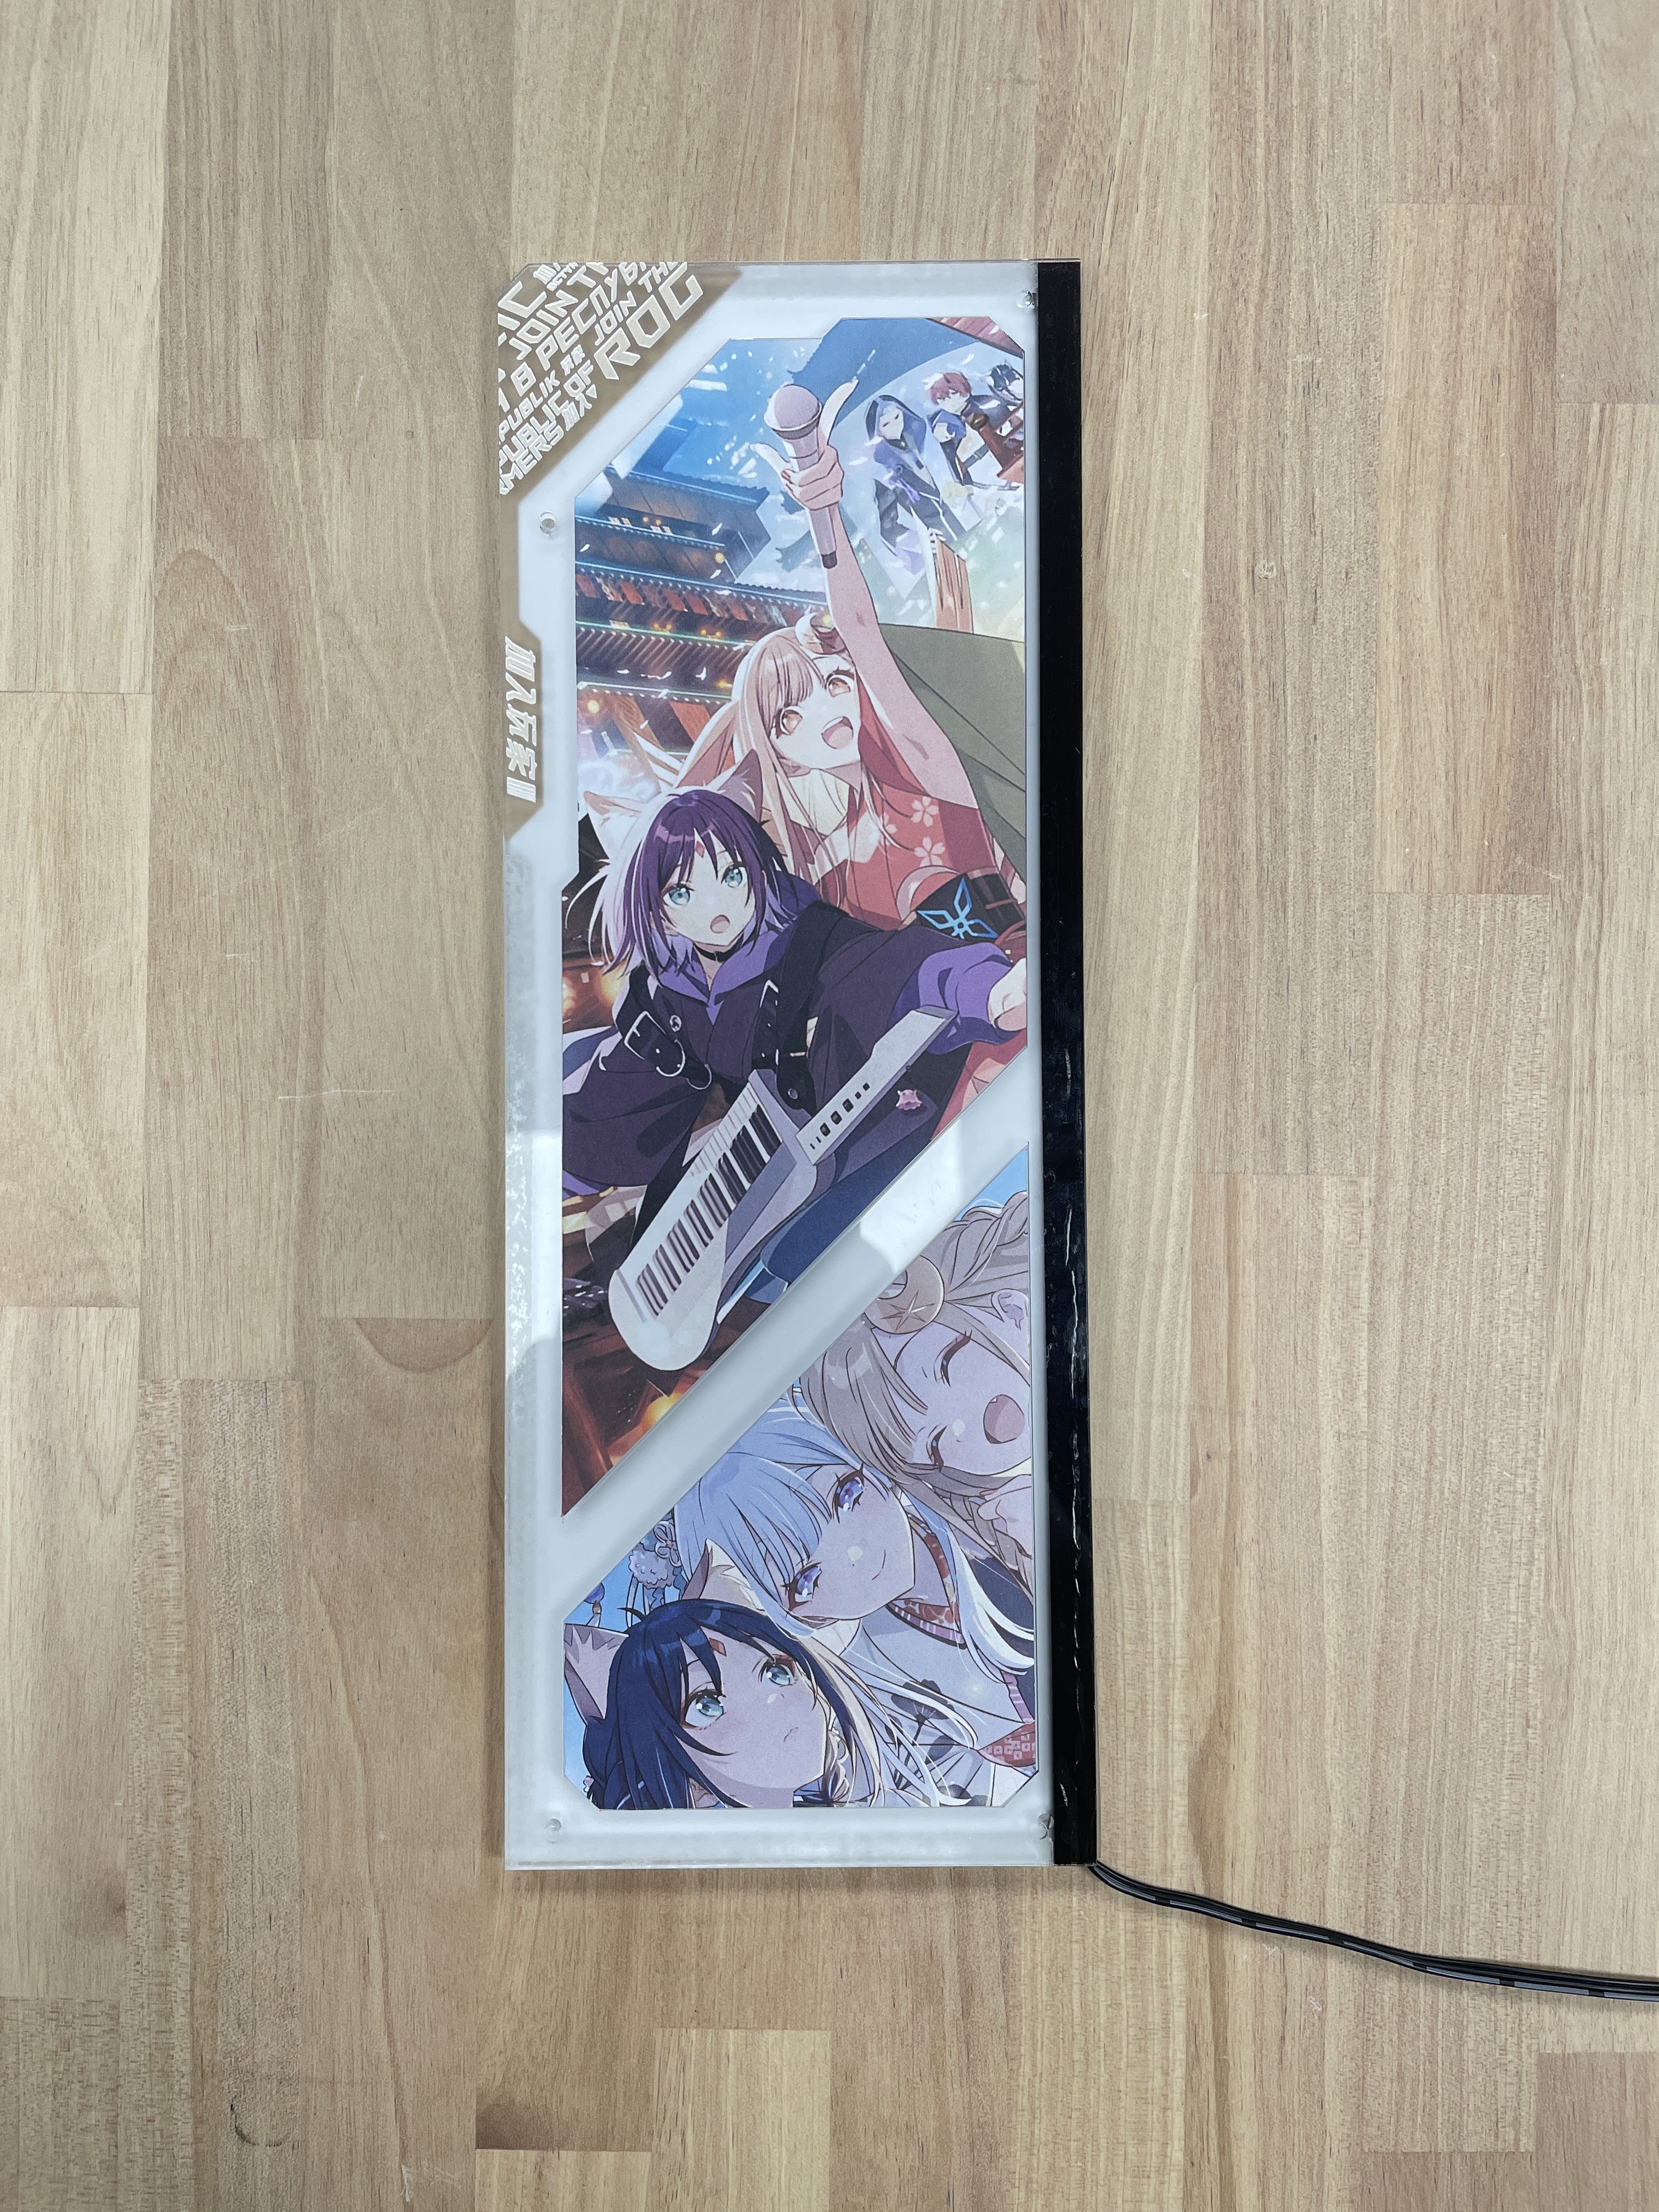
放入燈板主體

將完成圖案黏貼與裁切的壓克力板,對準方向及位置,放入燈板主體中。

注意:確認壓克力板平整貼合、沒有歪斜。
動漫圖案壓克力放入 DIY 燈板主體,旁有連接線|Anime acrylic artwork placed in the DIY light panel body with cable attached
06
STEP 06 / 09

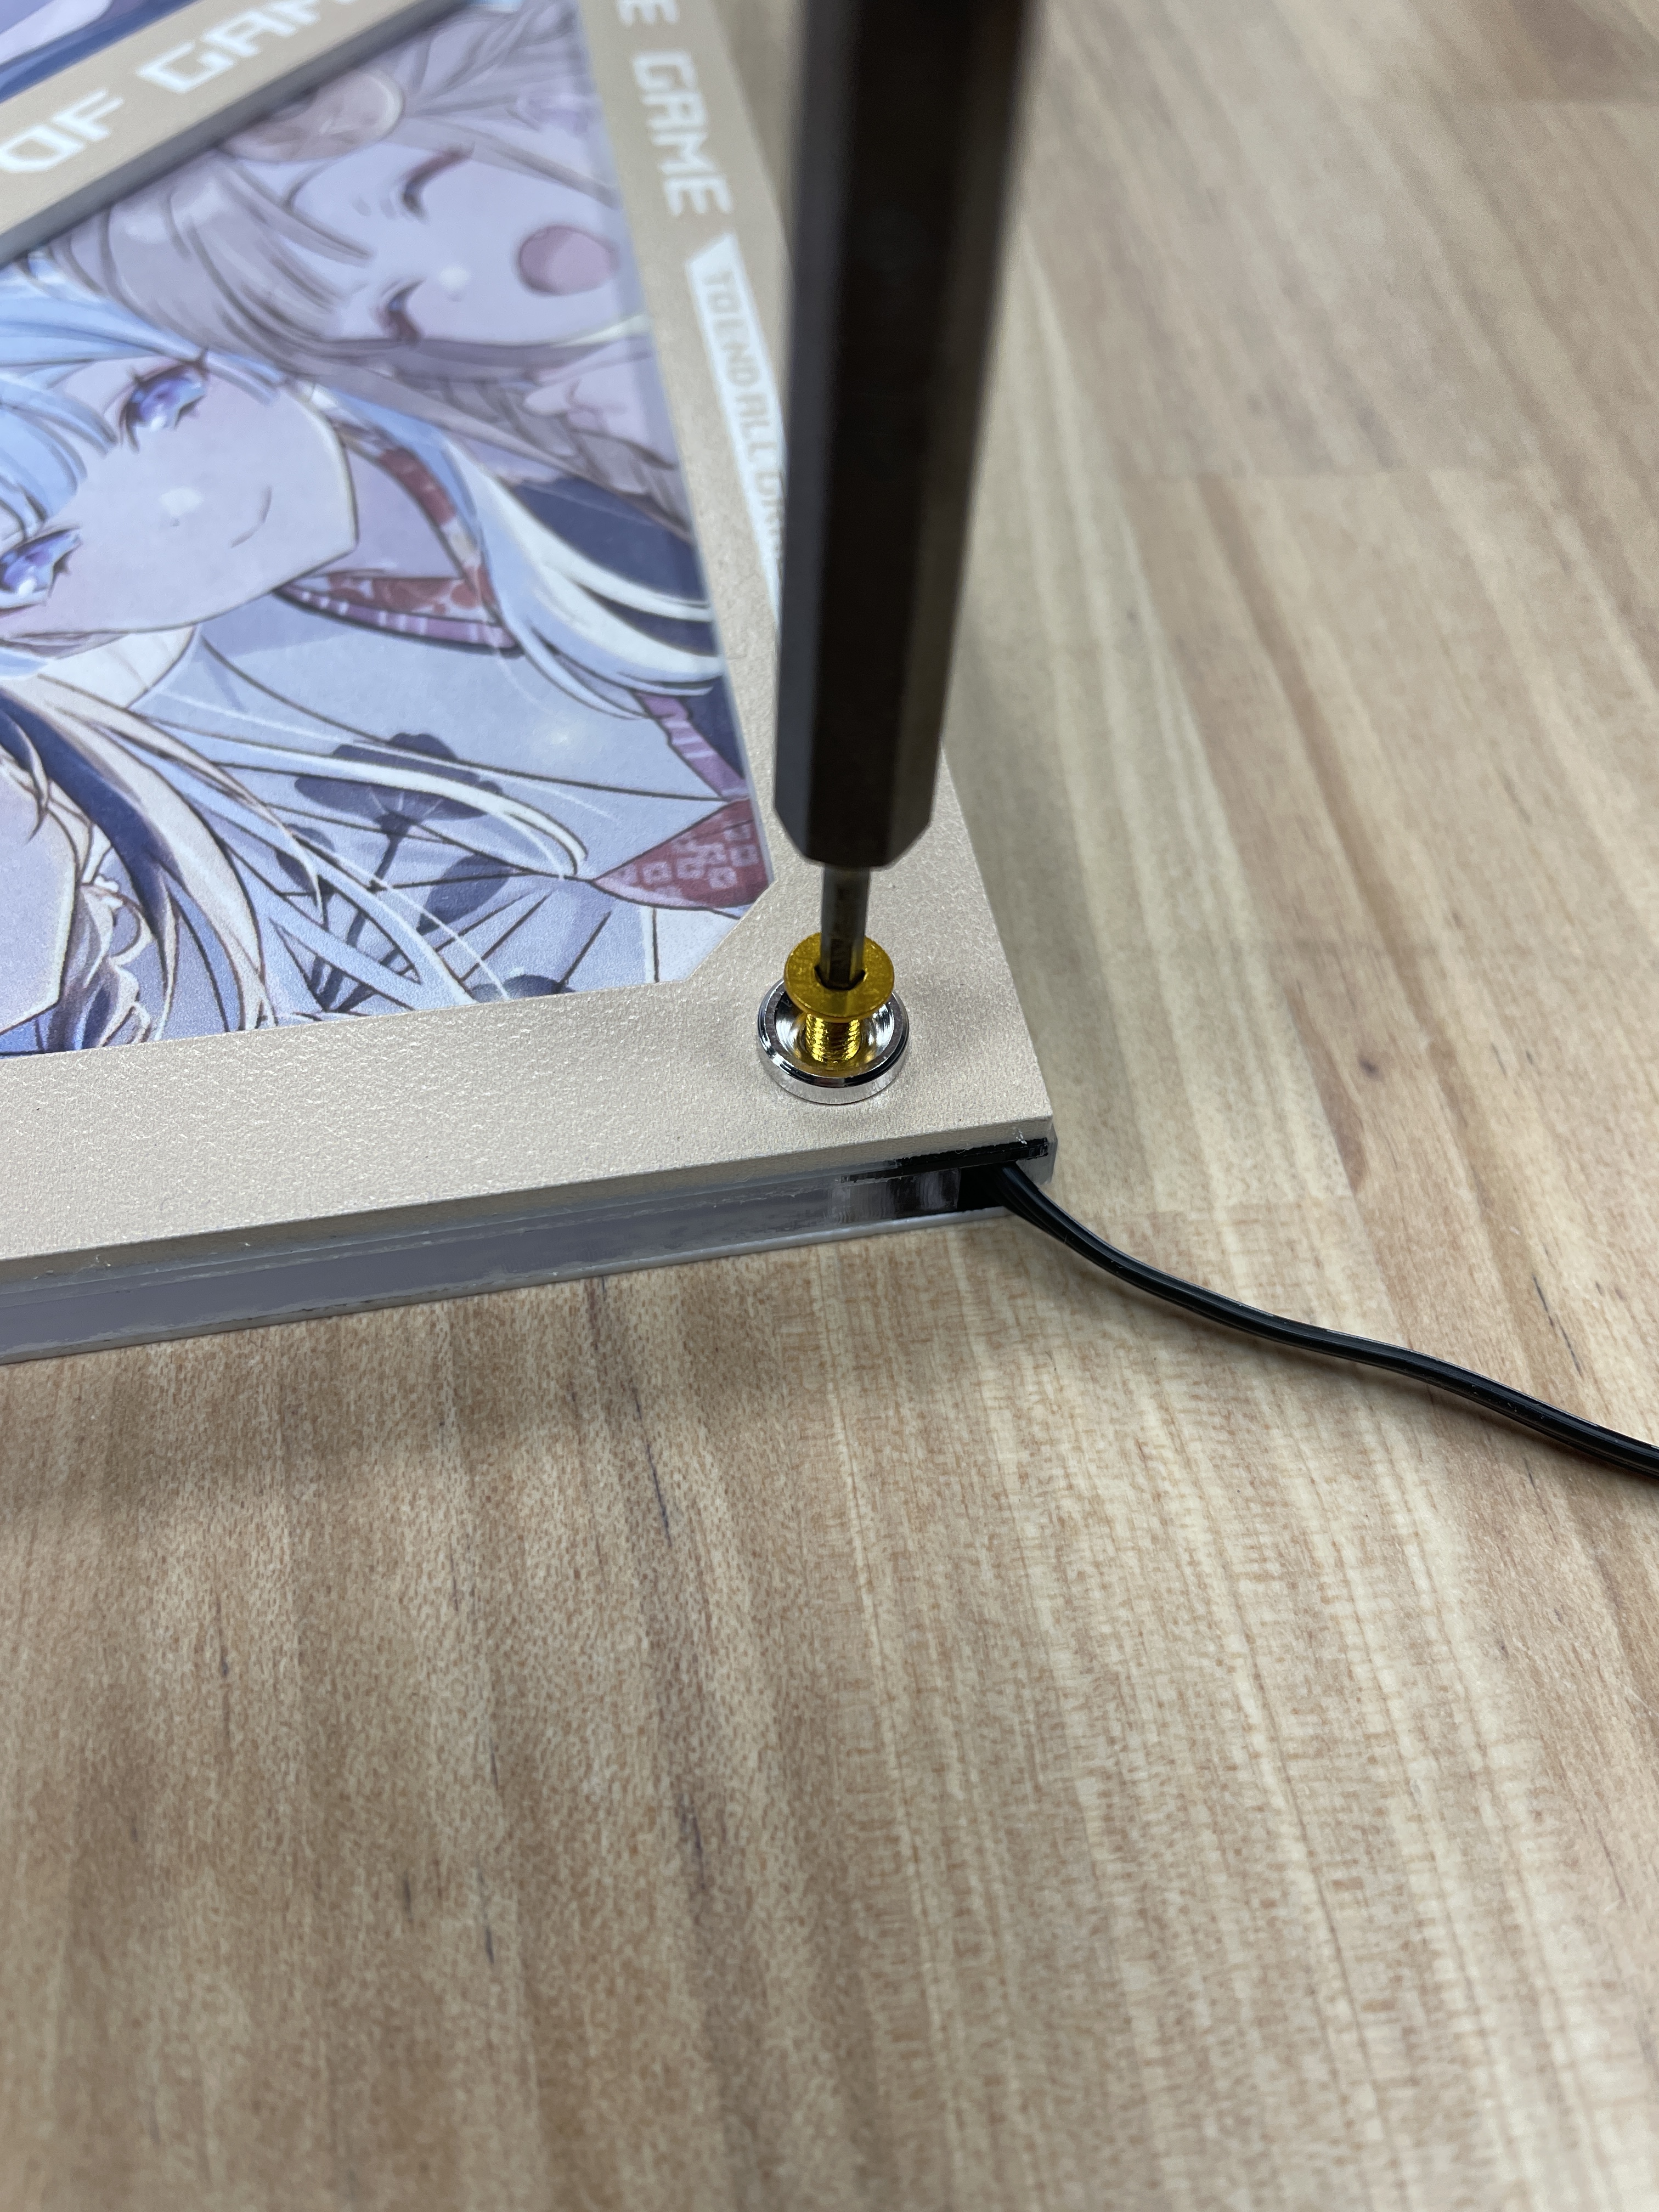
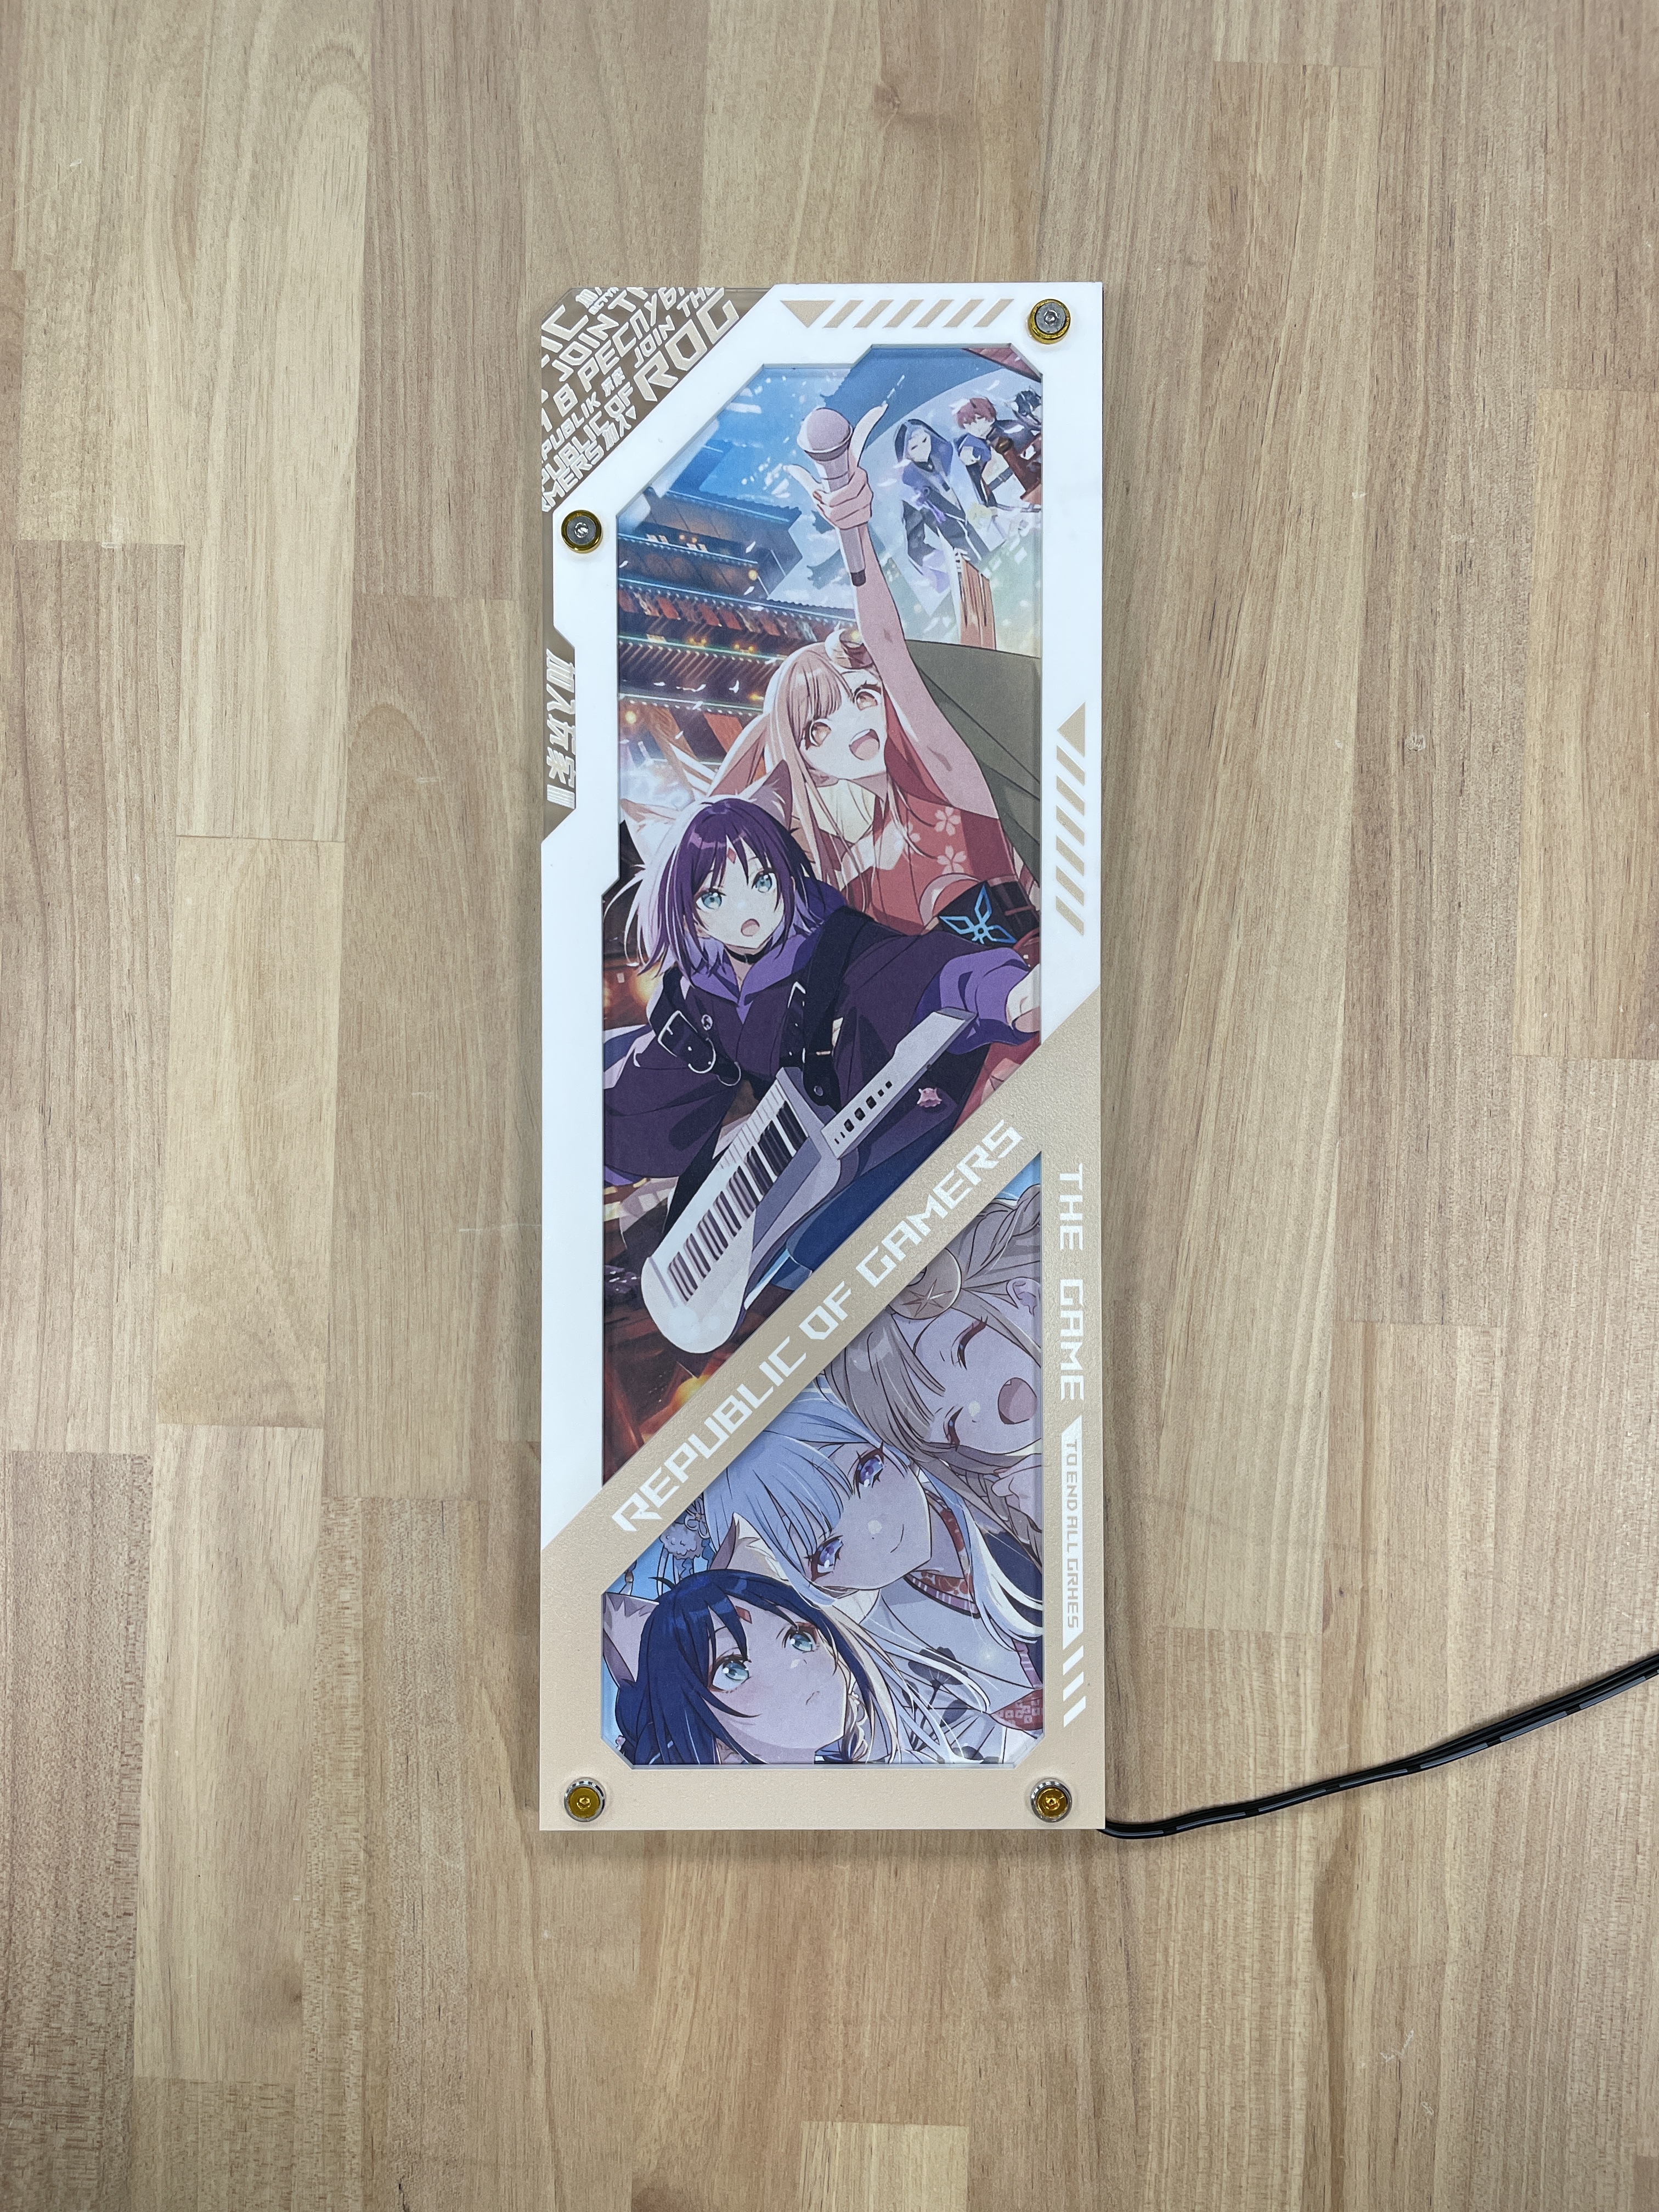
安裝外框・鎖上四顆螺絲

將燈板框對齊四角孔位,搭配六角板手鎖上四組螺絲與螺帽。

注意:螺絲與螺帽採金銀錯色搭配;均勻施力、避免過度鎖緊。
使用工具鎖緊 DIY 燈板外框角落金色螺絲特寫|Close-up of tightening a gold corner screw on the DIY light panel frame
四角螺絲固定完成的動漫主題燈板平放於木桌|Assembled anime light panel with four corner screws on a wooden table
07
STEP 07 / 09

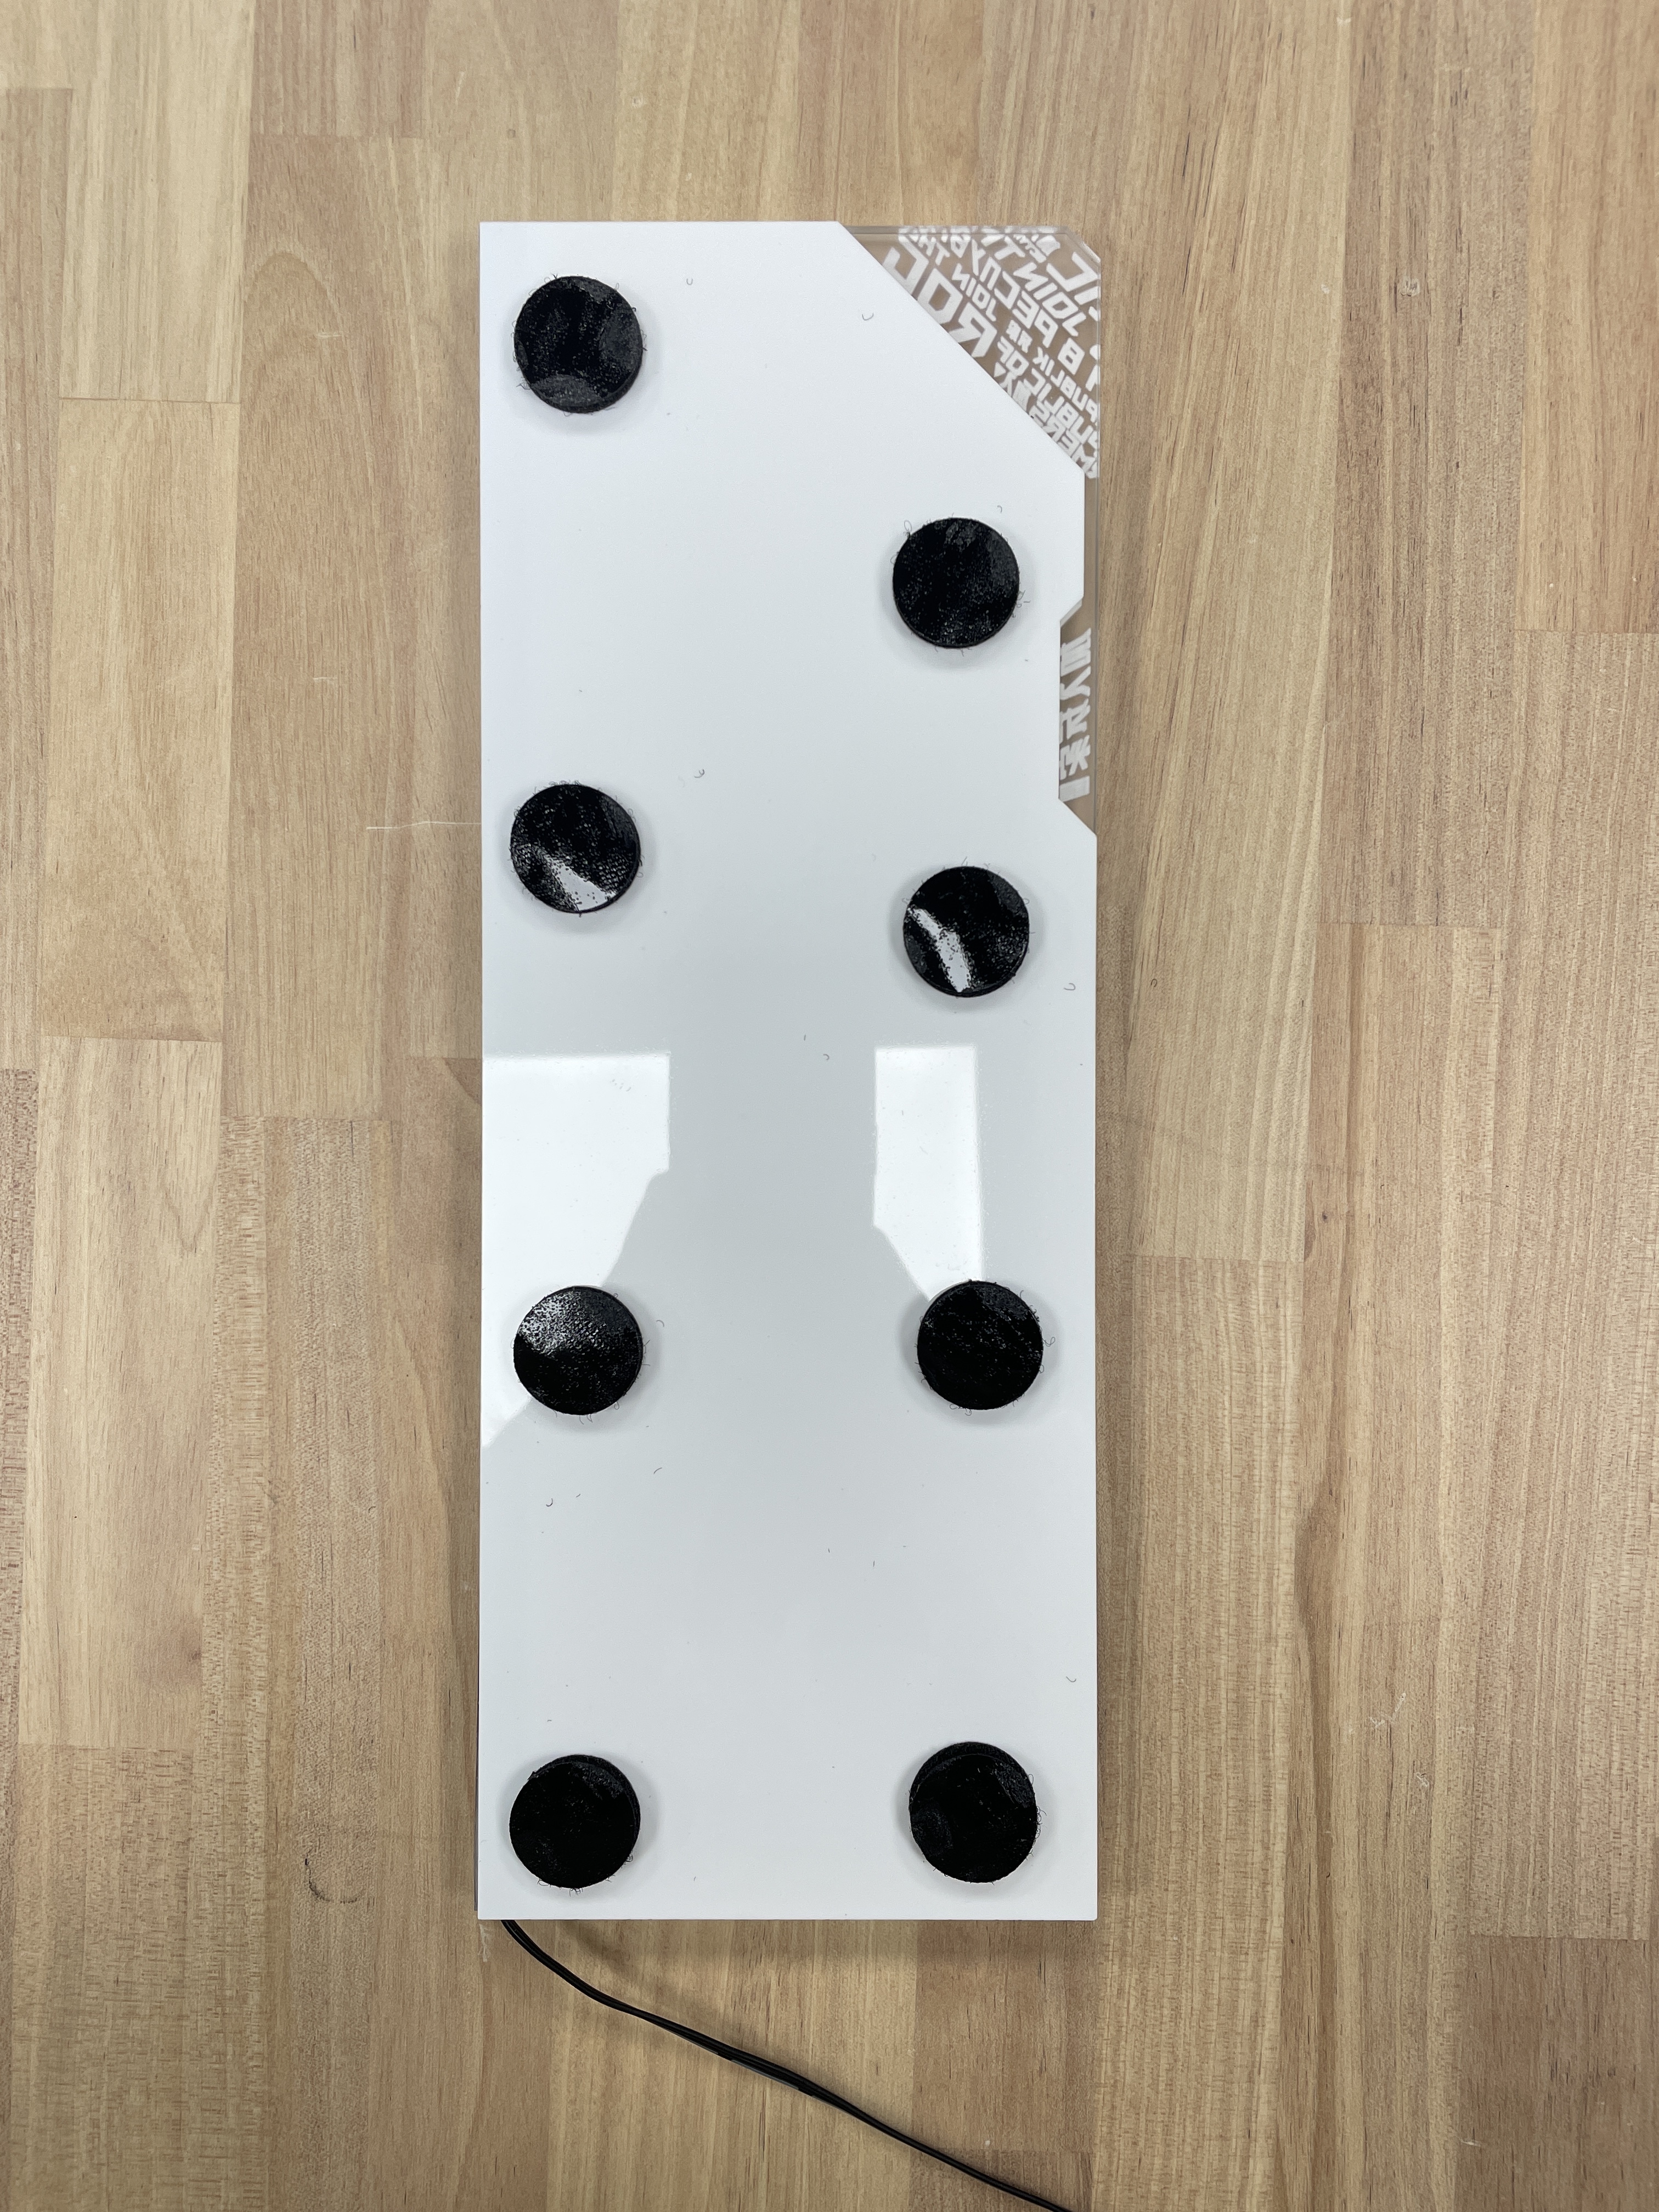
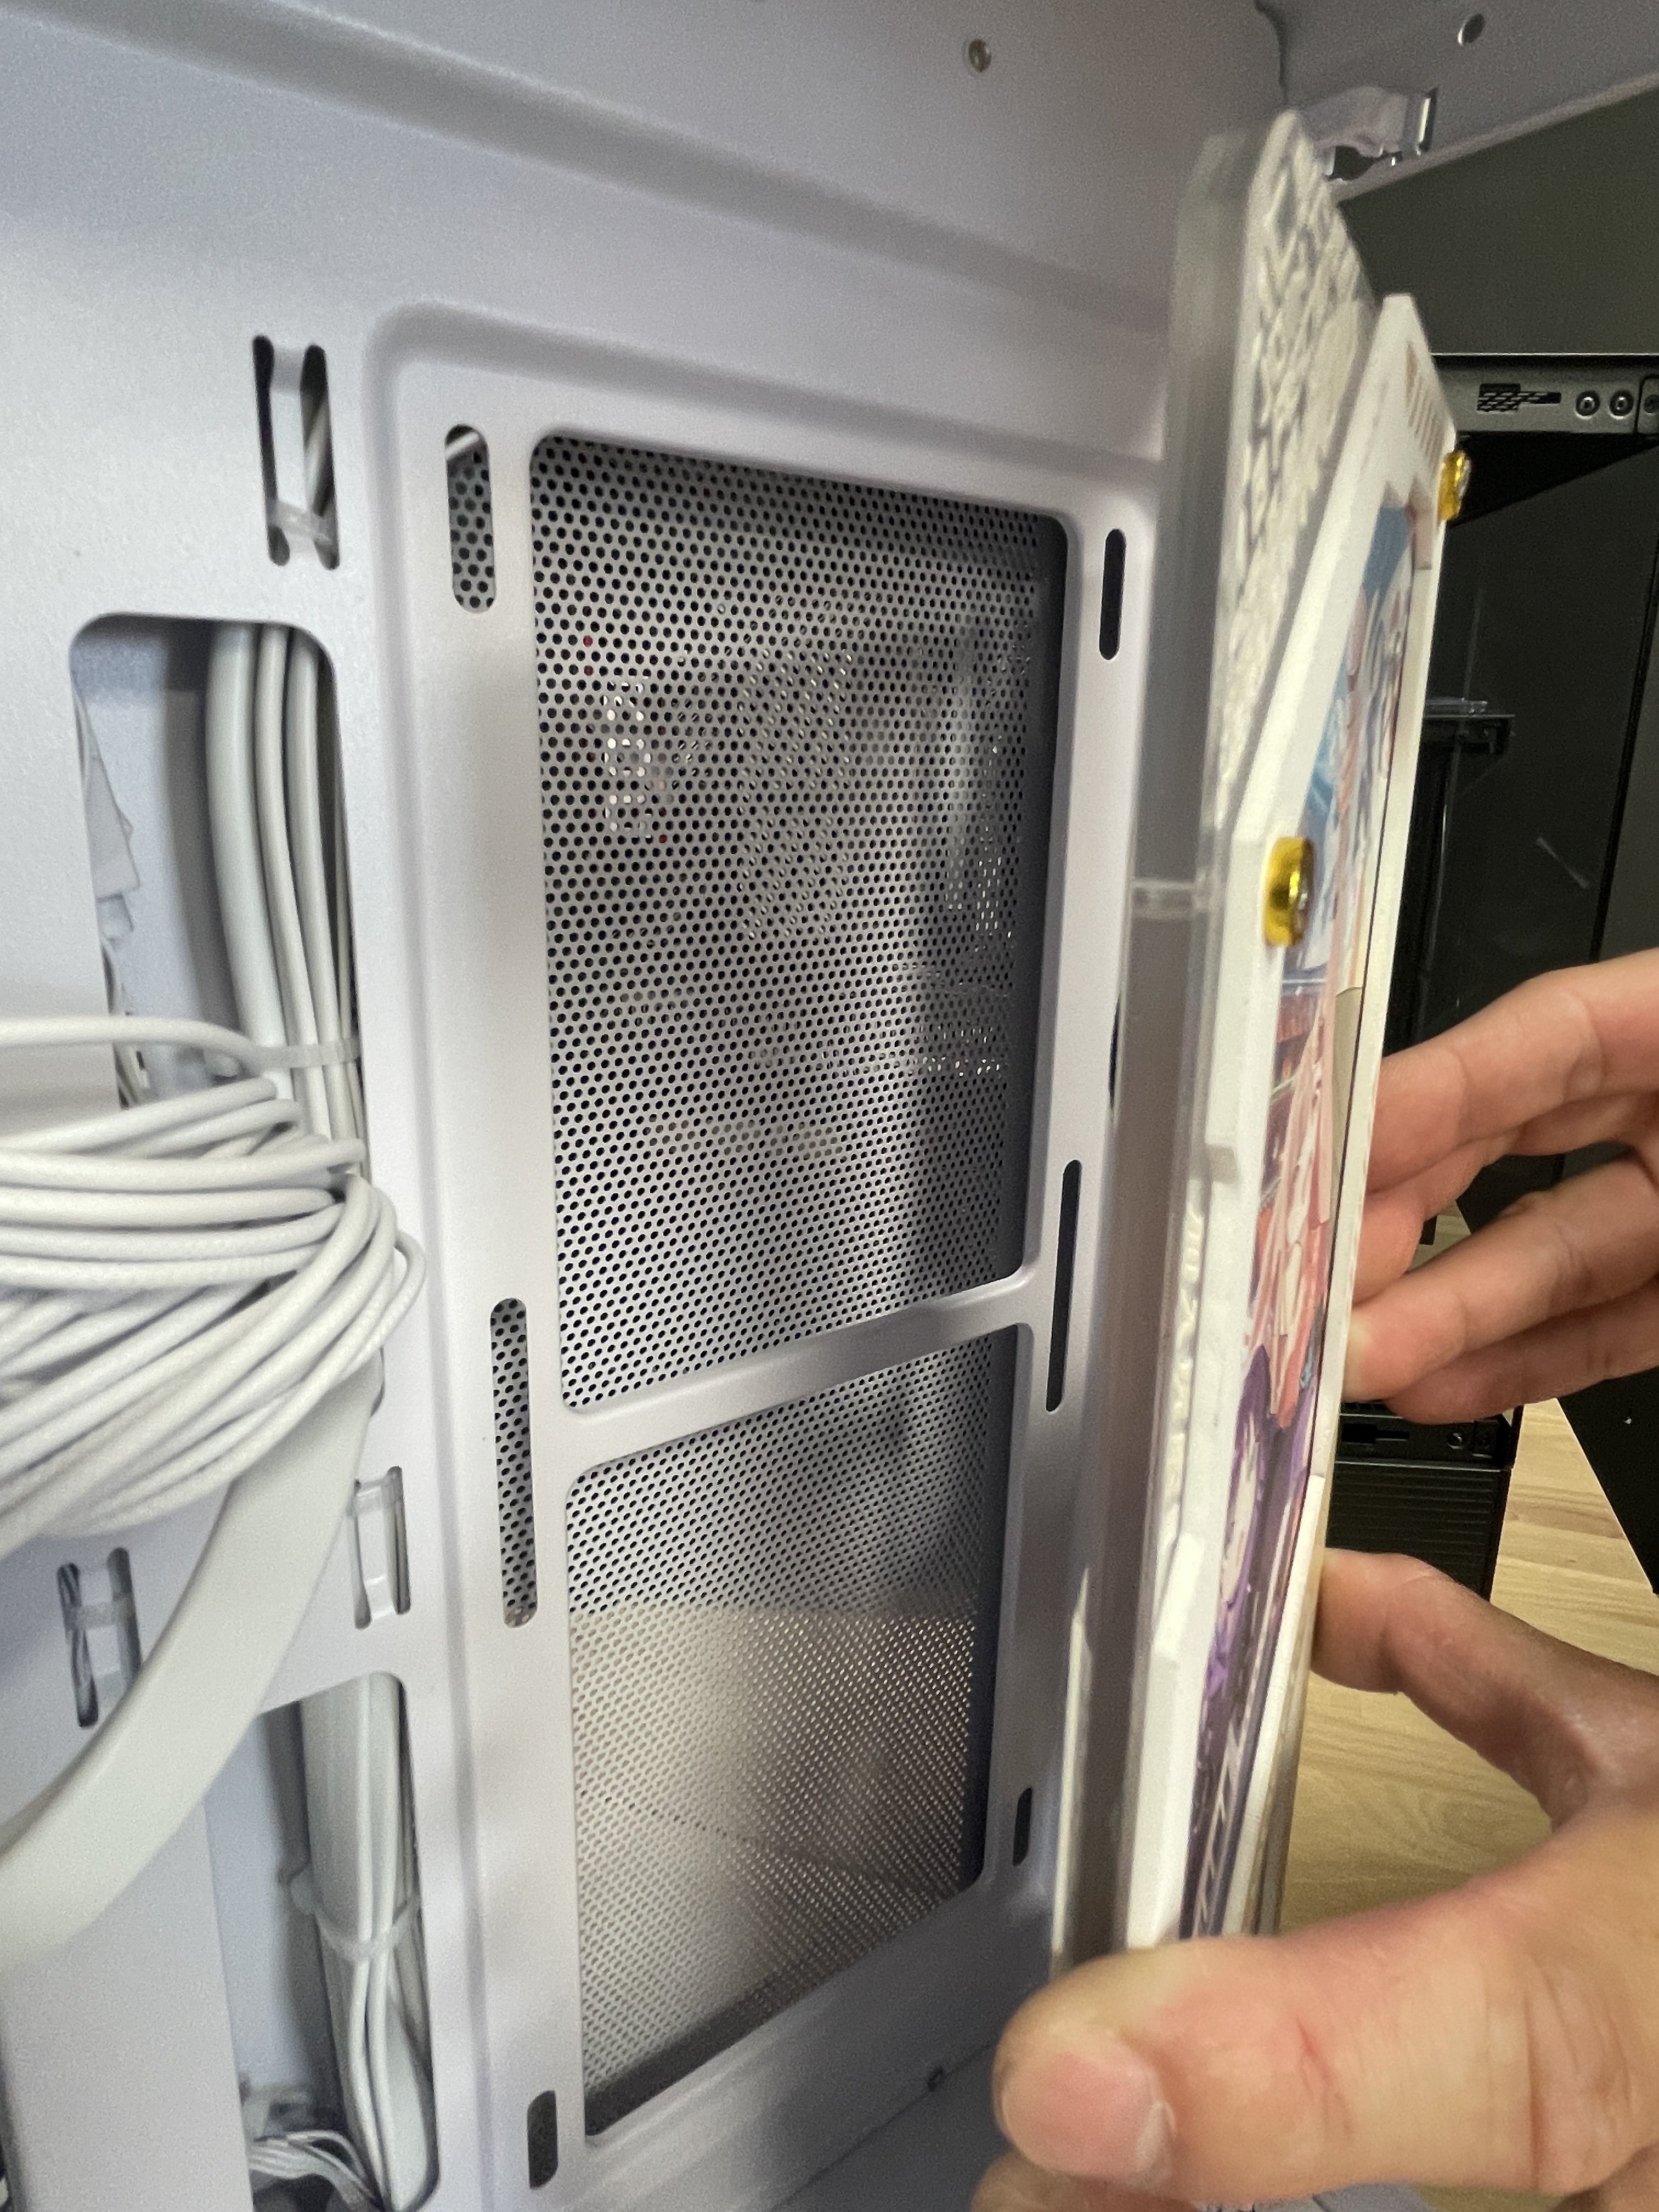
黏貼魔鬼氈・固定至主機

安裝前提醒:燈板背面也有保護膜!請先完整撕除,再黏貼魔鬼氈。

先將魔鬼氈勾面平均黏貼在燈板背面,毛面先貼合到勾面上,再把整片燈板對準主機位置壓貼固定。

注意:毛面背膠沒有保護紙。先把兩面貼合再安裝,定位較準確。
DIY 燈板白色背面貼上多個黑色圓形魔鬼氈|White back of a DIY light panel fitted with black circular hook-and-loop pads
手持主題燈板對準白色電腦機殼內側安裝位置|Hands positioning a themed light panel inside a white PC case
08
STEP 08 / 09

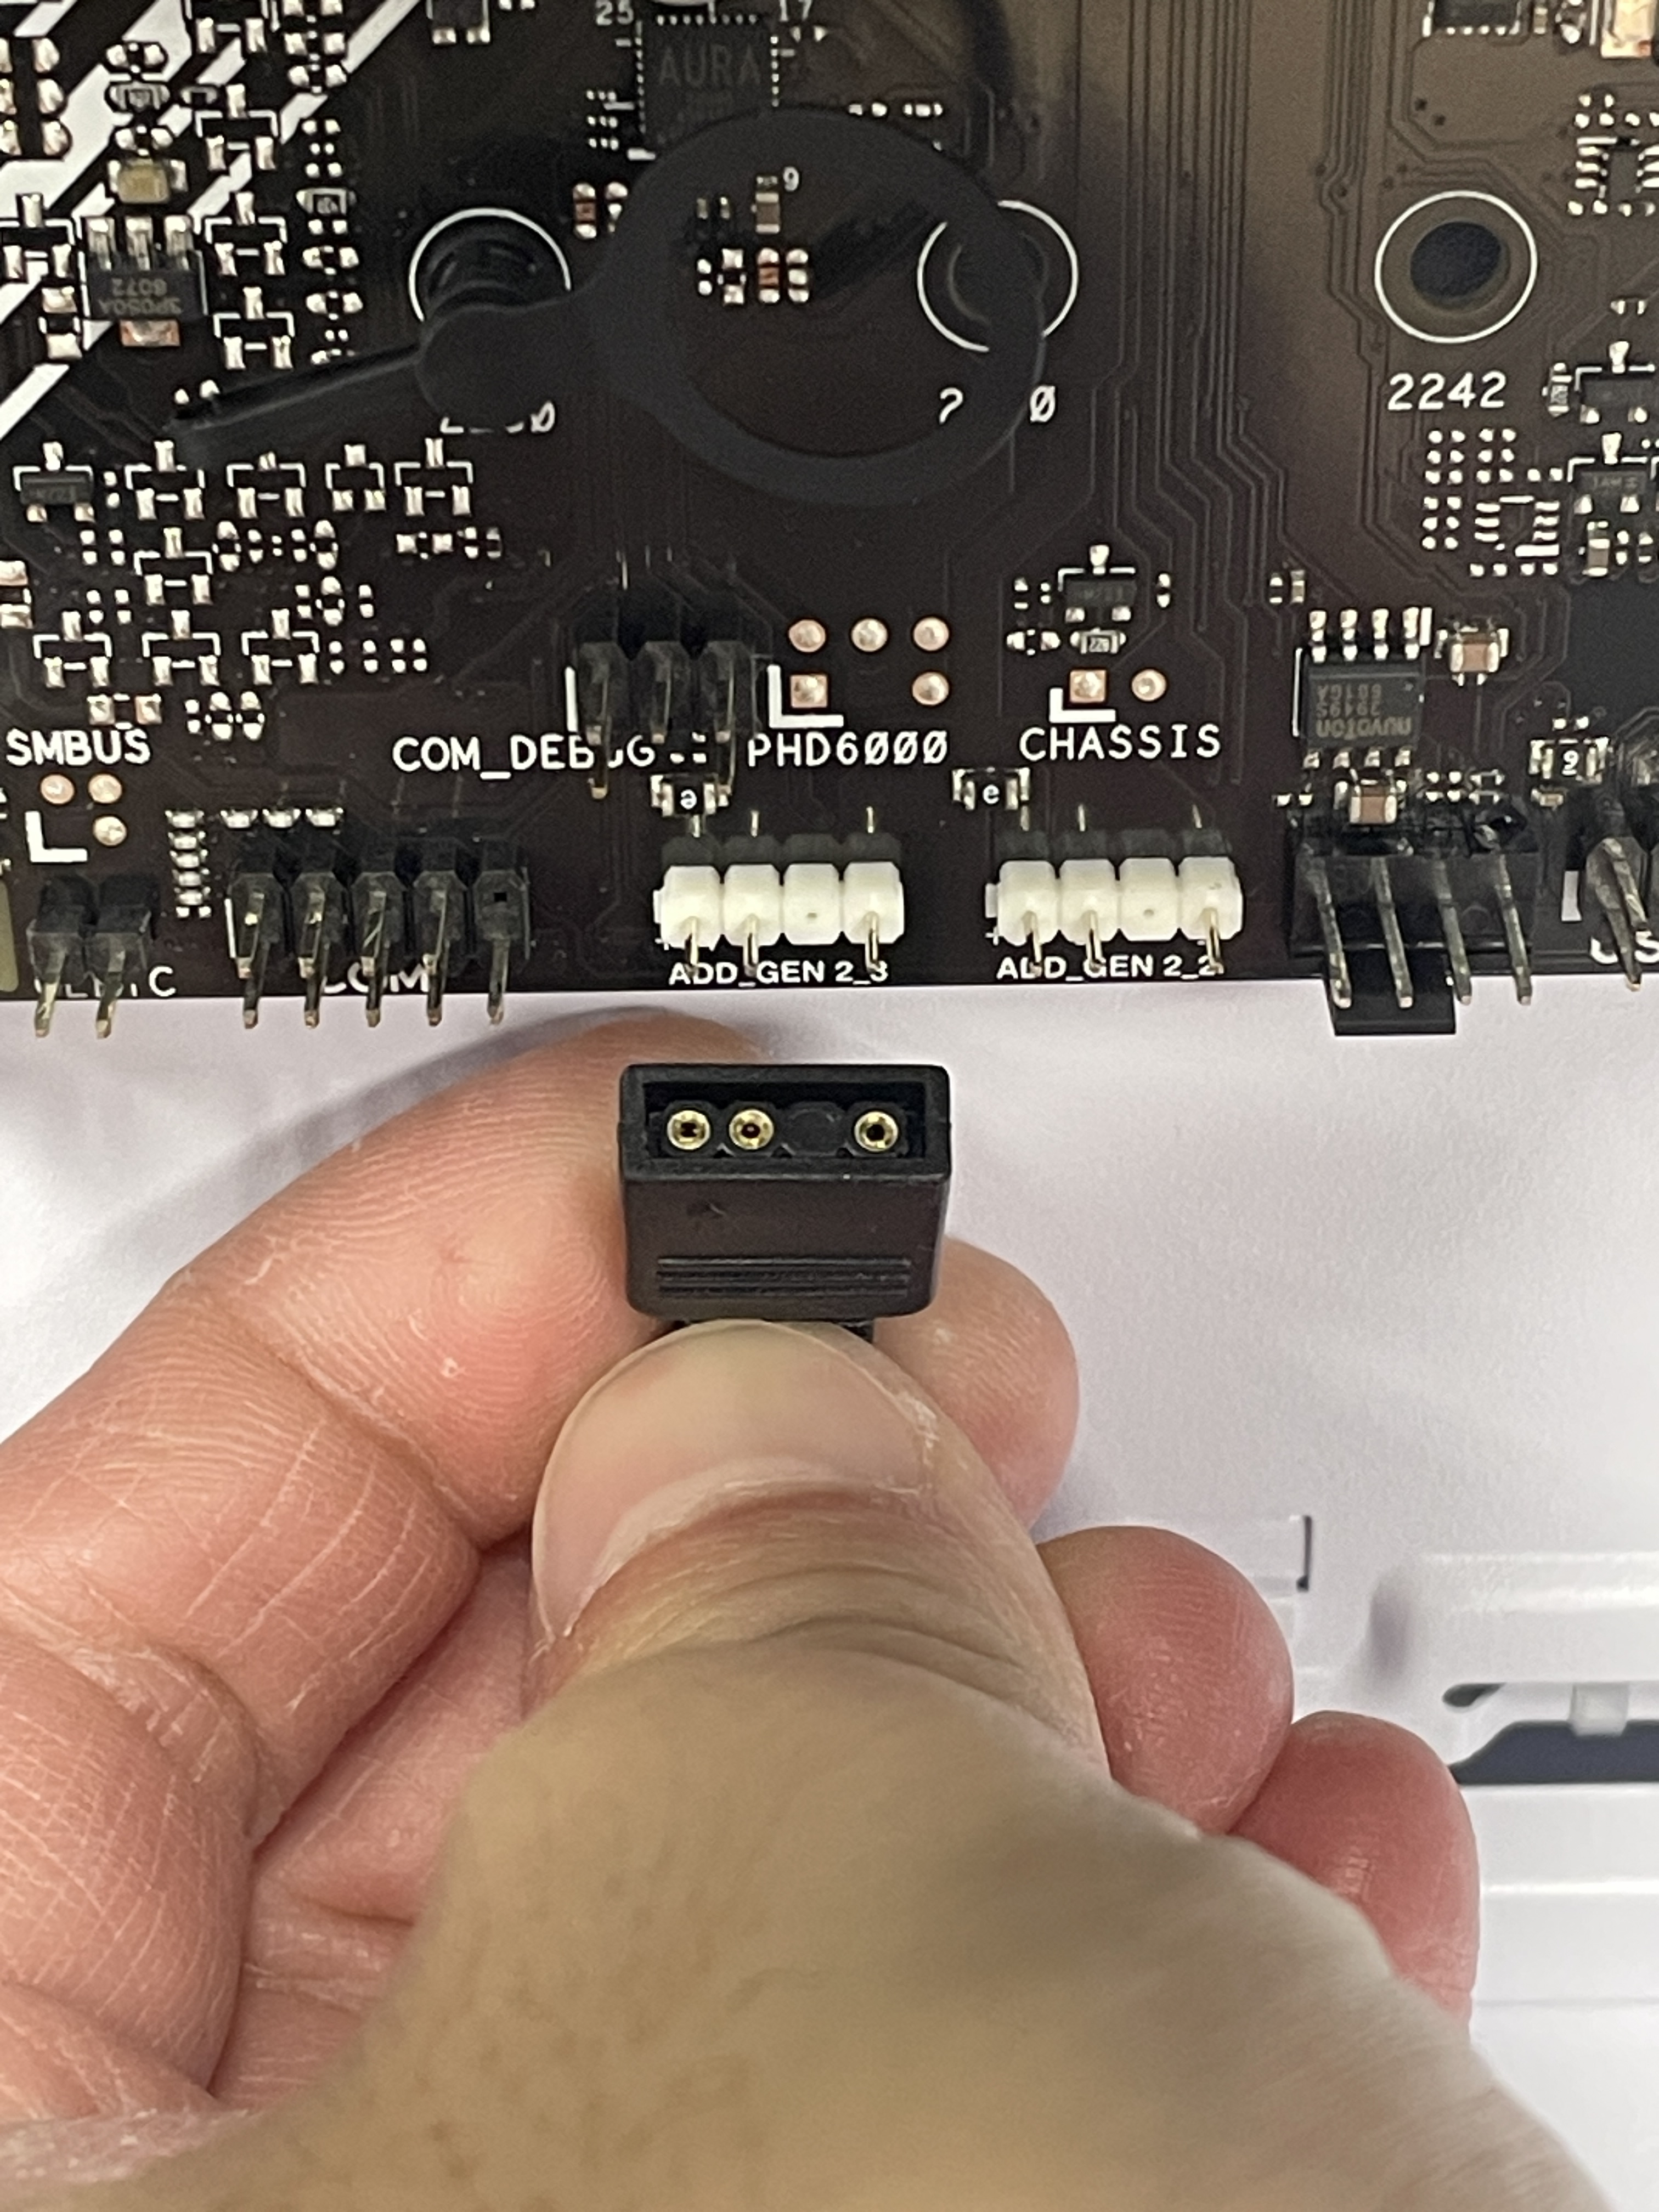
連接 5V 3Pin ARGB 接頭

完成固定後,在電腦完全斷電並拔除電源線的狀態下,將燈條接頭接到主機板的 5V 3Pin ARGB 插座。

注意:不可誤插 12V 4Pin RGB;確認針腳、缺孔及方向正確,勿強插。
5V 3Pin ARGB 接頭與主機板對應插座特寫|Close-up of a 5V 3-pin ARGB connector and matching motherboard headers
09
STEP 09 / 09

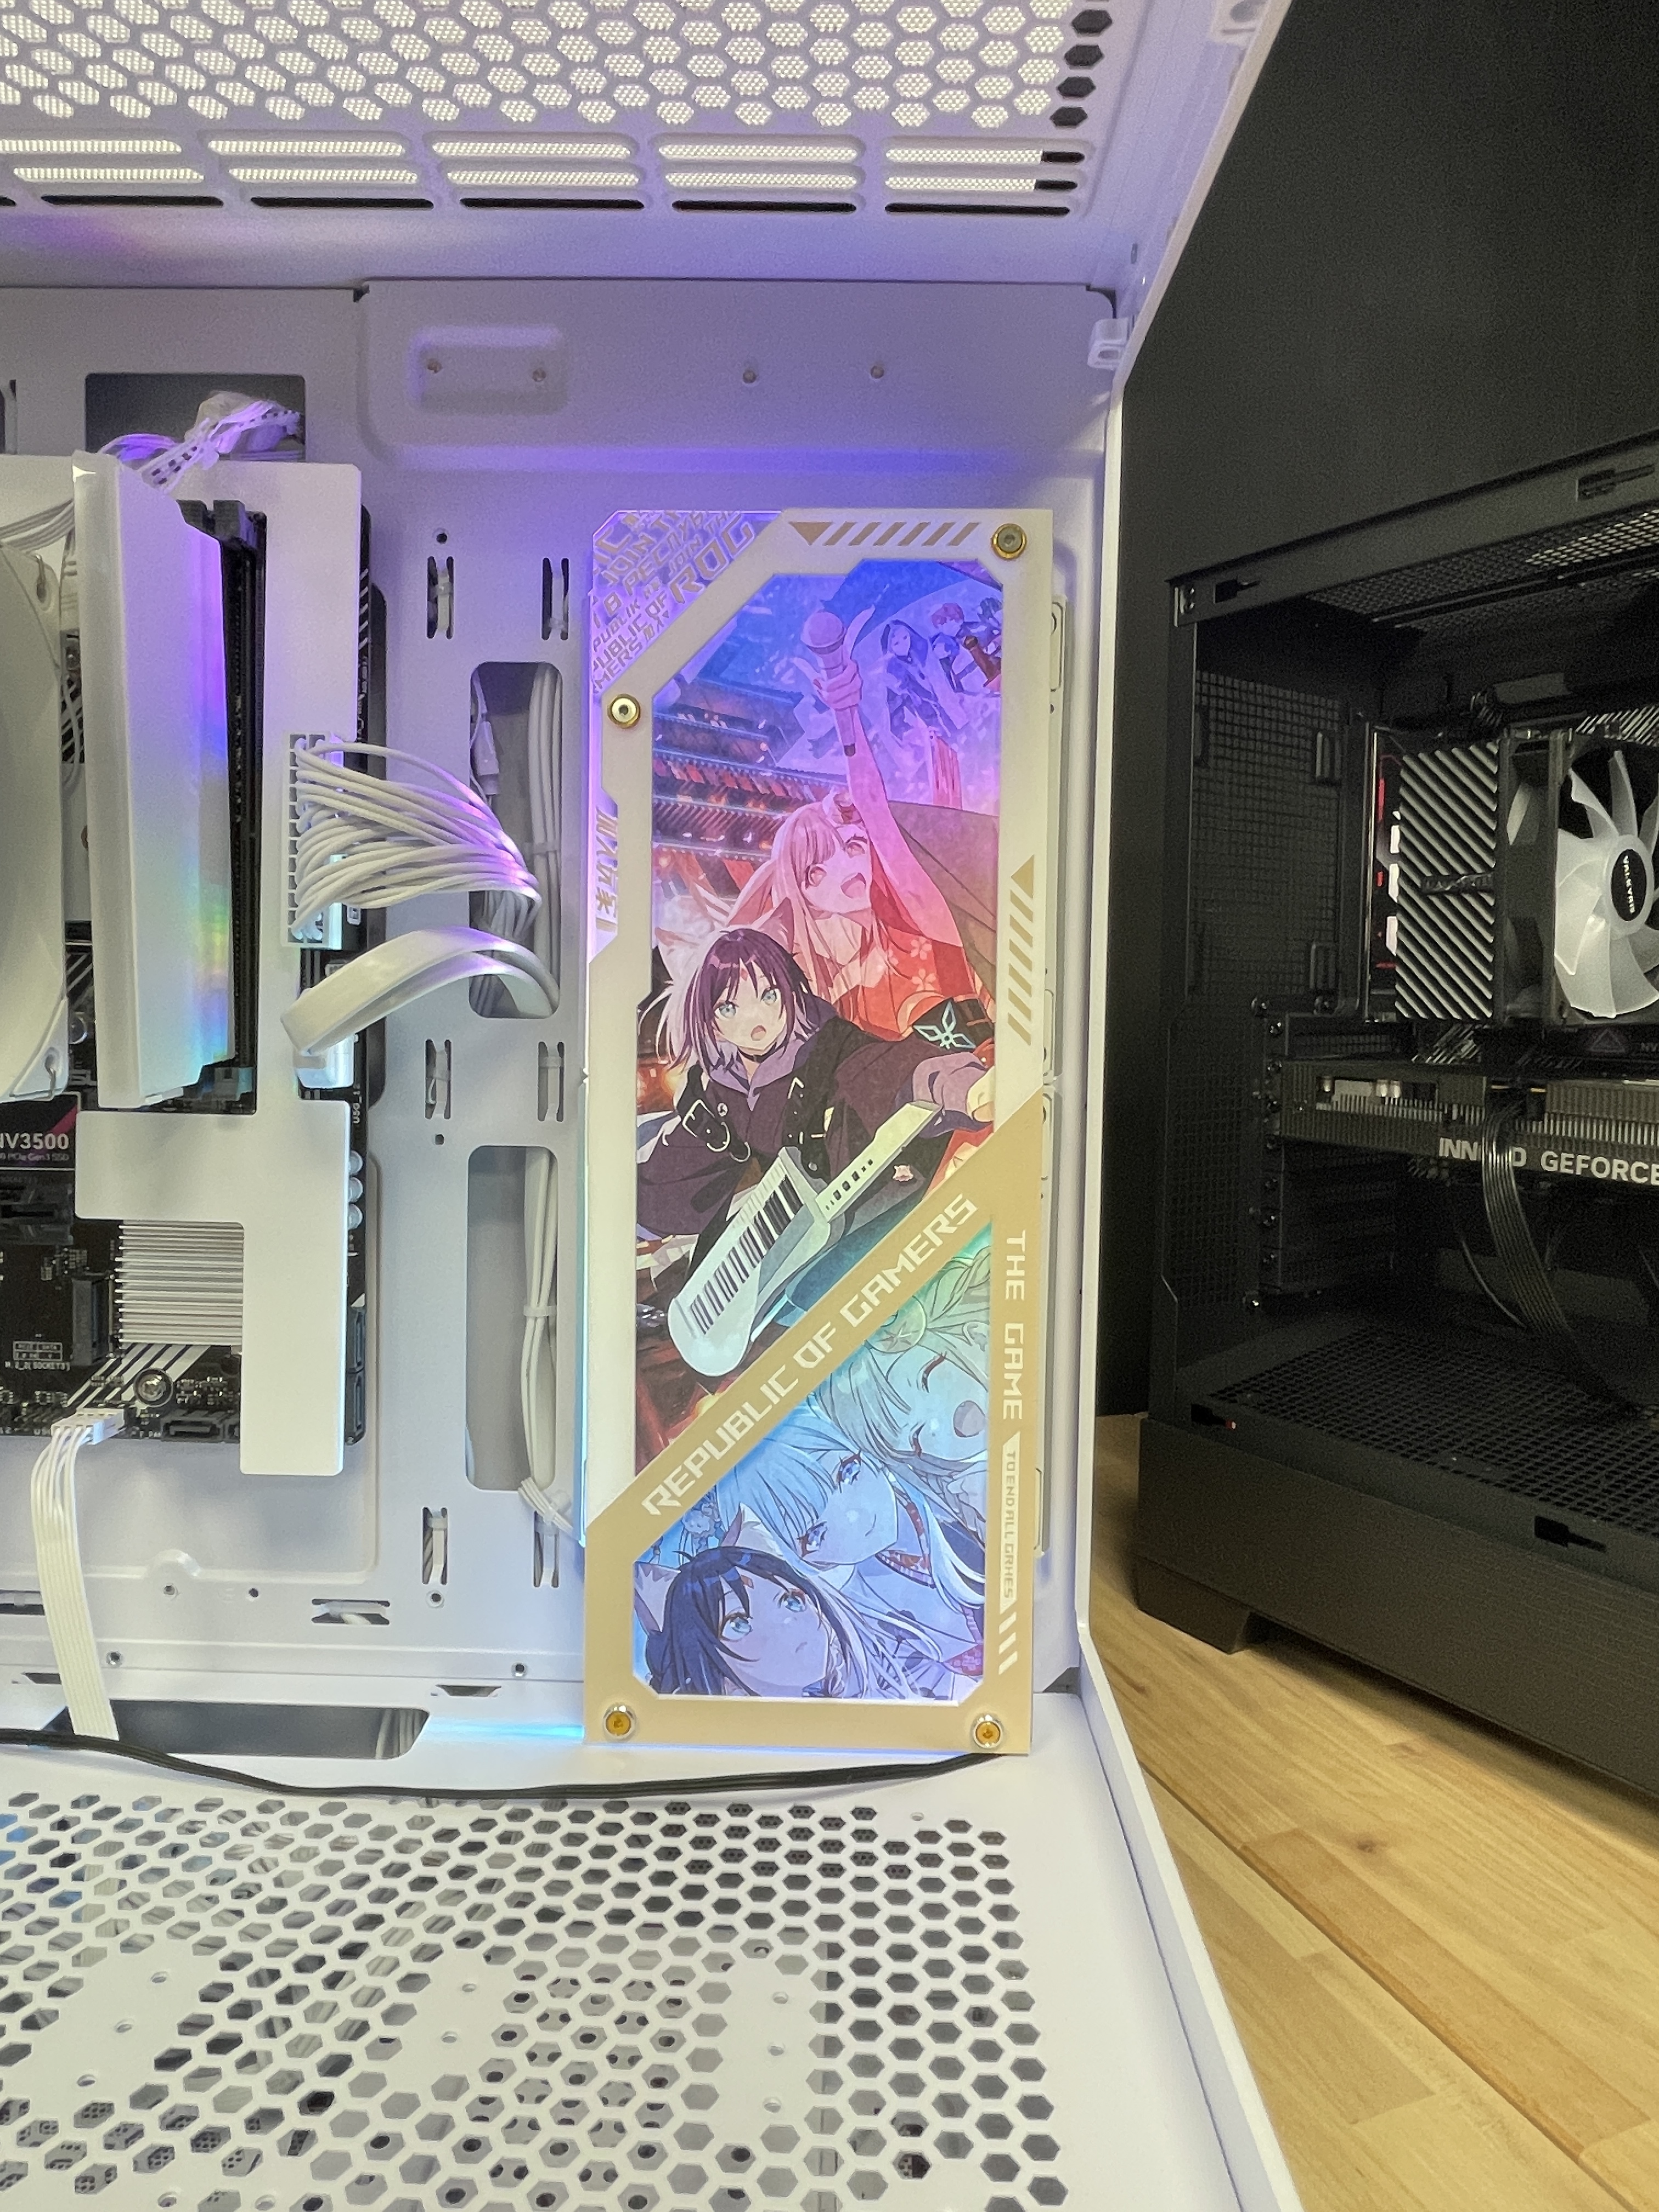
開機測試・完成安裝

確認燈板與接線都安裝完成、線材已整理妥當,再開機測試點亮效果。

注意:避免線材碰觸風扇或阻擋散熱。
動漫主題 DIY 燈板安裝於白色機殼內並亮起彩色燈效|Anime DIY light panel installed and illuminated with multicolor lighting inside a white PC case
DIY 完成!點亮專屬你的主機風格

客製圖案 × 燈光效果 × 自己動手完成

Shipping & Payment

Delivery Options

  • 宅配 - (零售專用 購買主機請勿選擇)
  • 實體門市取貨(限台中七期)
  • 黑貓-常溫(貨到付款)
  • 實體門市取貨(限桃園中壢民族路192號)
  • Others

Payment Options

  • Bank Transfer
  • Cash on Delivery
  • Cash on Delivery
  • ATM Virtual account (Pay at ATM or web bank by virtual account)
  • Credit CardSSS
  • Pay by credit card in 003 installments (Only support credit card released by partial Taiwan bank)
  • Pay by credit card in 6 installments (Only support credit card released by partial Taiwan bank)
  • 🔶信用卡12/18/24期分期付款 下單後提供中信/萬事達專屬刷卡連結🔶
  • Pay by credit card in 0012 installments (Only support credit card released by partial Taiwan bank)
  • Pay by credit card in 18 installments (Only support credit card released by partial Taiwan bank)
  • Pay by credit card in 24 installments (Only support credit card released by partial Taiwan bank)
  • zingala - BNPL by Chailease0
  • zingala - BNPL by Chailease3
  • zingala - BNPL by Chailease12
  • zingala - BNPL by Chailease18
  • zingala - BNPL by Chailease24
  • 💖無信用卡現金分期 超商繳費 過程保密💖6期-30期
Customer Reviews
{{'product.product_review.no_review' | translate}}

You might also like...